


LESSON TWO: HOW TO USE A STROBE
In
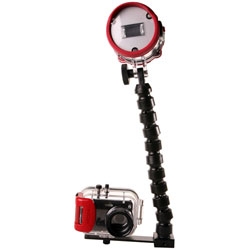
this lesson I will cover the use of the strobe. I am using the
Intova ISS2000 strobe. The strobe is necessary because water is a
powerful filter of light. As you descend red quickly
gets
filtered out. Yellow is fast to follow. There are basically
three options for restoring the capturing of the colors that
exist but are lost to your eye and the camera due to the lack of the
full spectrum of light. First is to use a "red" filter which is
actually a balance
of red and yellow and has an orange appearance. The second is to
use a strobe to enhance the flash. Most cameras' built in flash
are designed for land use and are not powerful enough to overcome the
filtering
effect of the water. The
built in flash will also cause "back-scatter" showing the particles in
the water thus making the picture grainy. The third method is to
combine these
two. You
may read that some caution against using both as it can overenhance the
reds. However, I find it much easier to "cool" the color
temperature in photoshop than to create it. Here are some
tips to effectively use an underwater strobe.
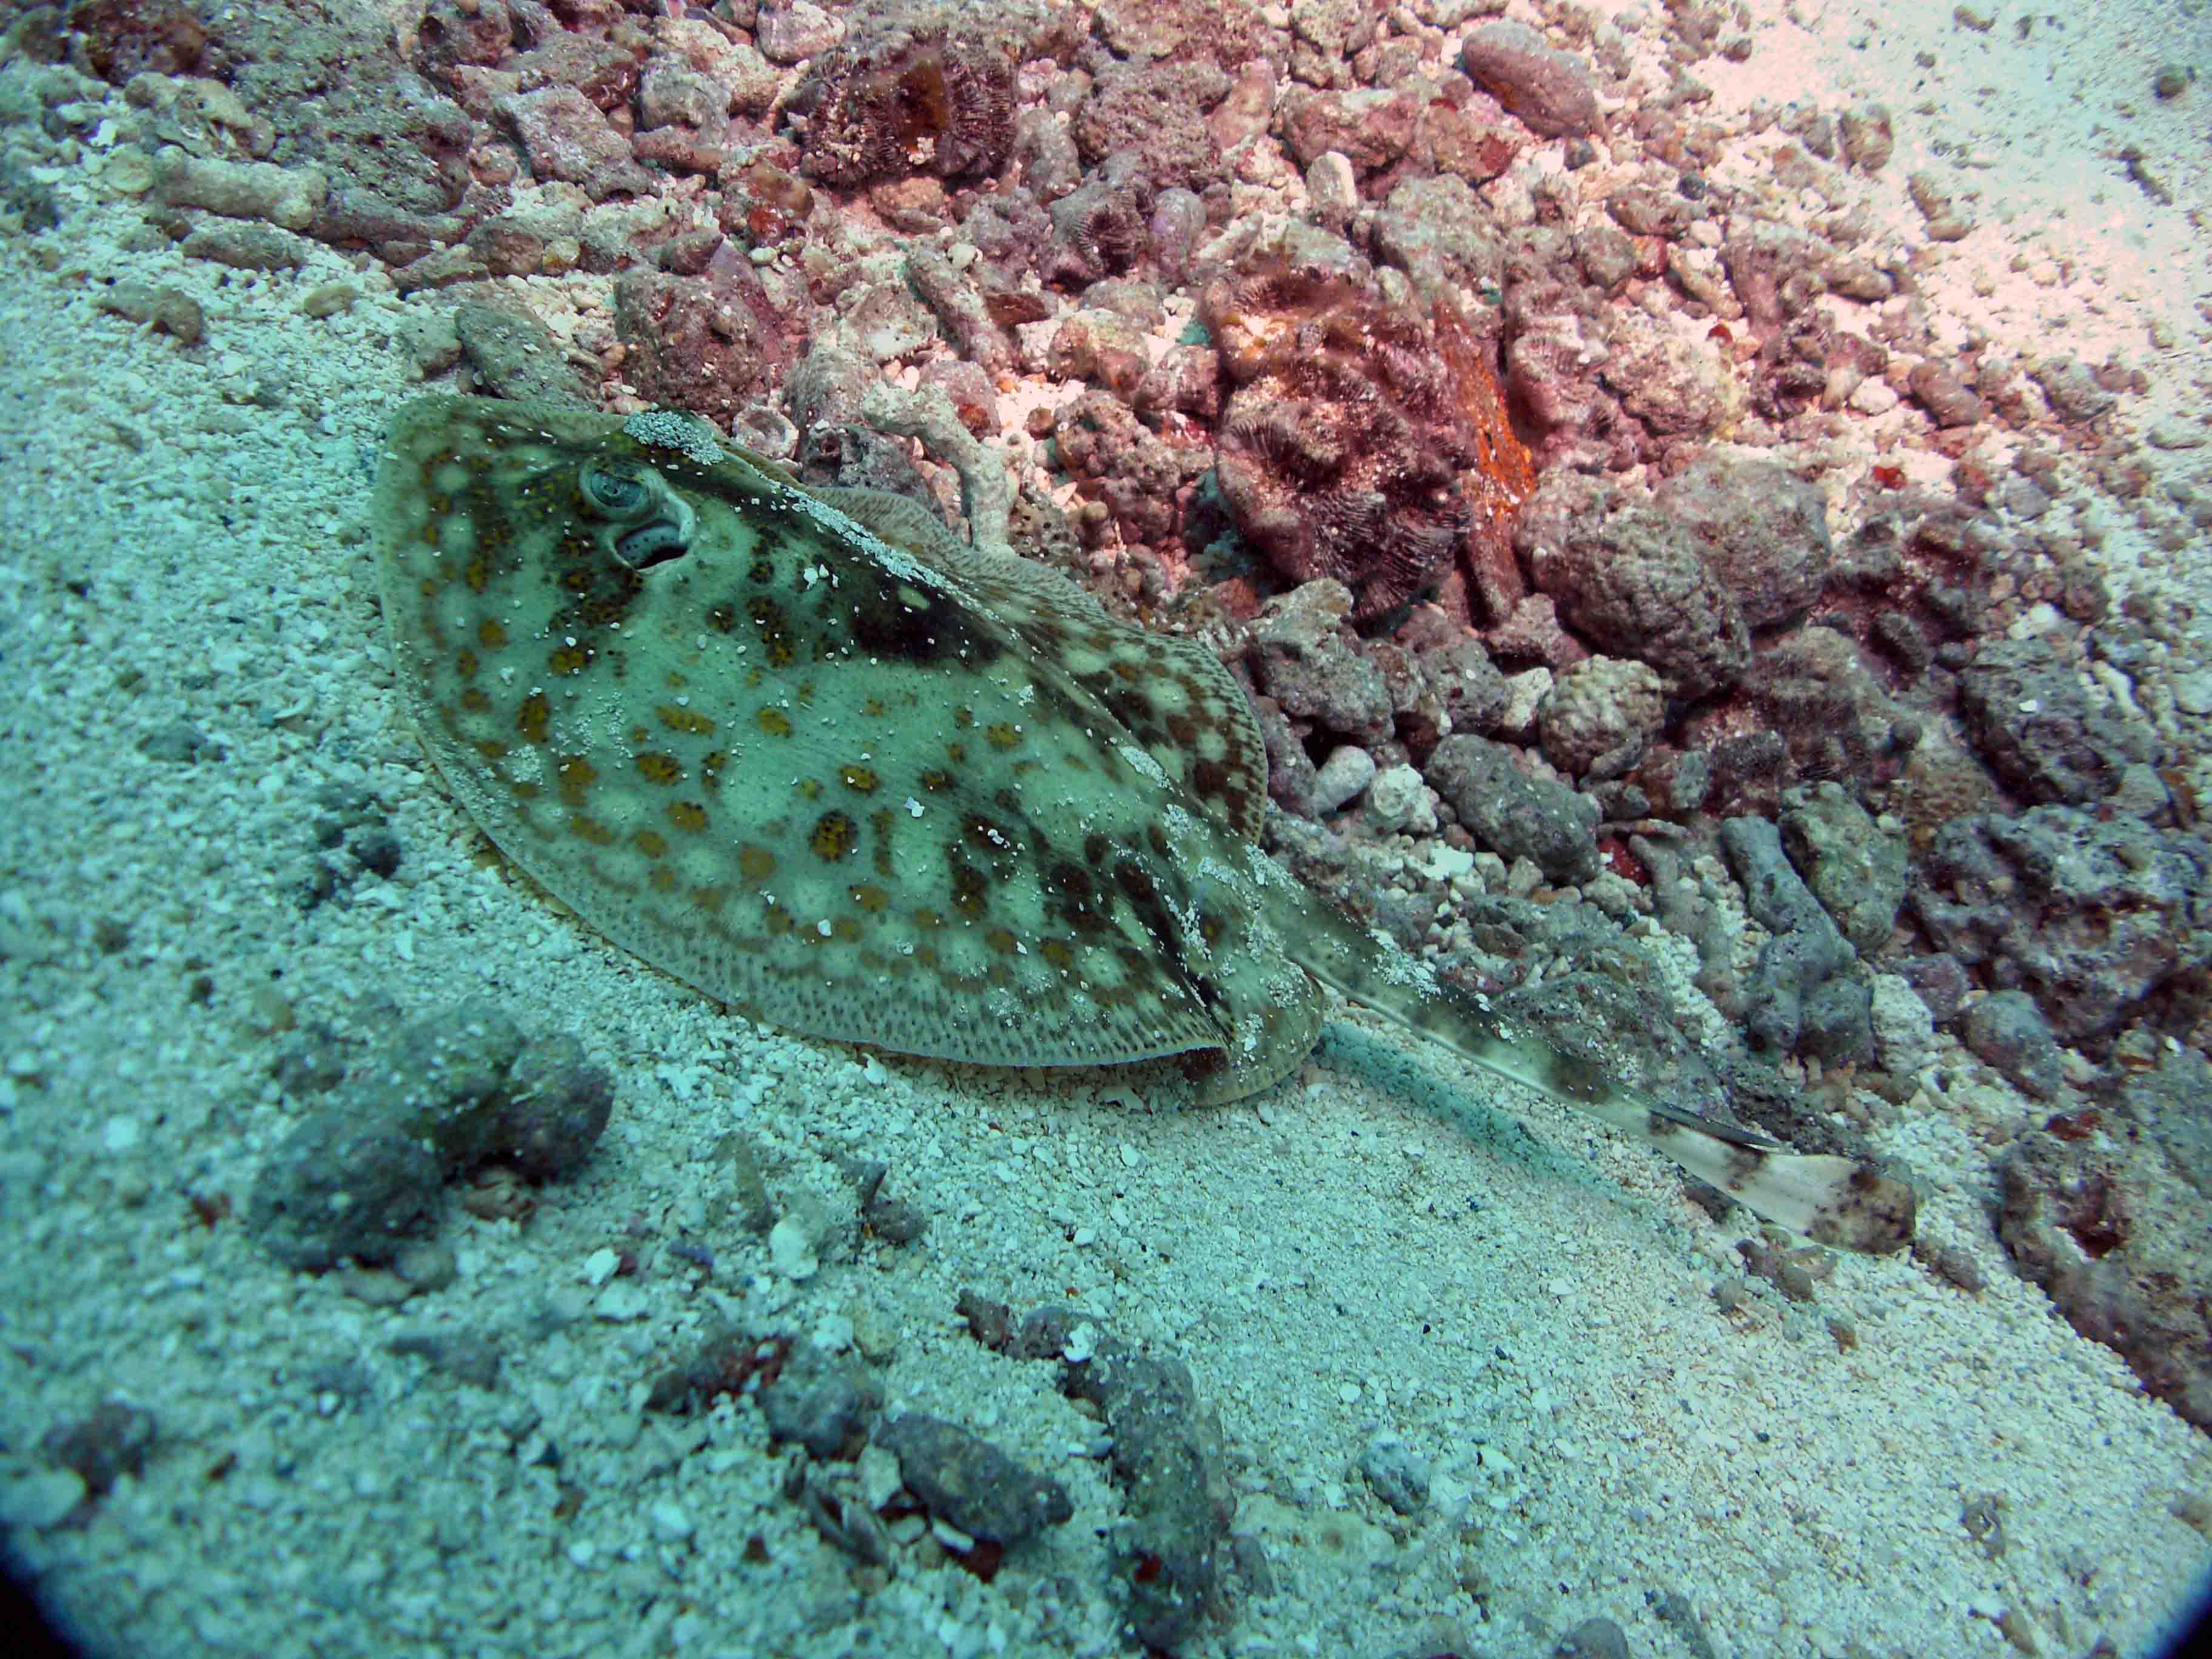
In the above example, the strobe
is aimed too high. The baby spotted stingray
is not being properly lighted. Setting up a shot is more than
lining up the subject
in the viewer, it also means aiming the strobe. Some
photographers will use 2
strobes, one for the subject and one for the background. Shot at
27feet down
in Cozumel.
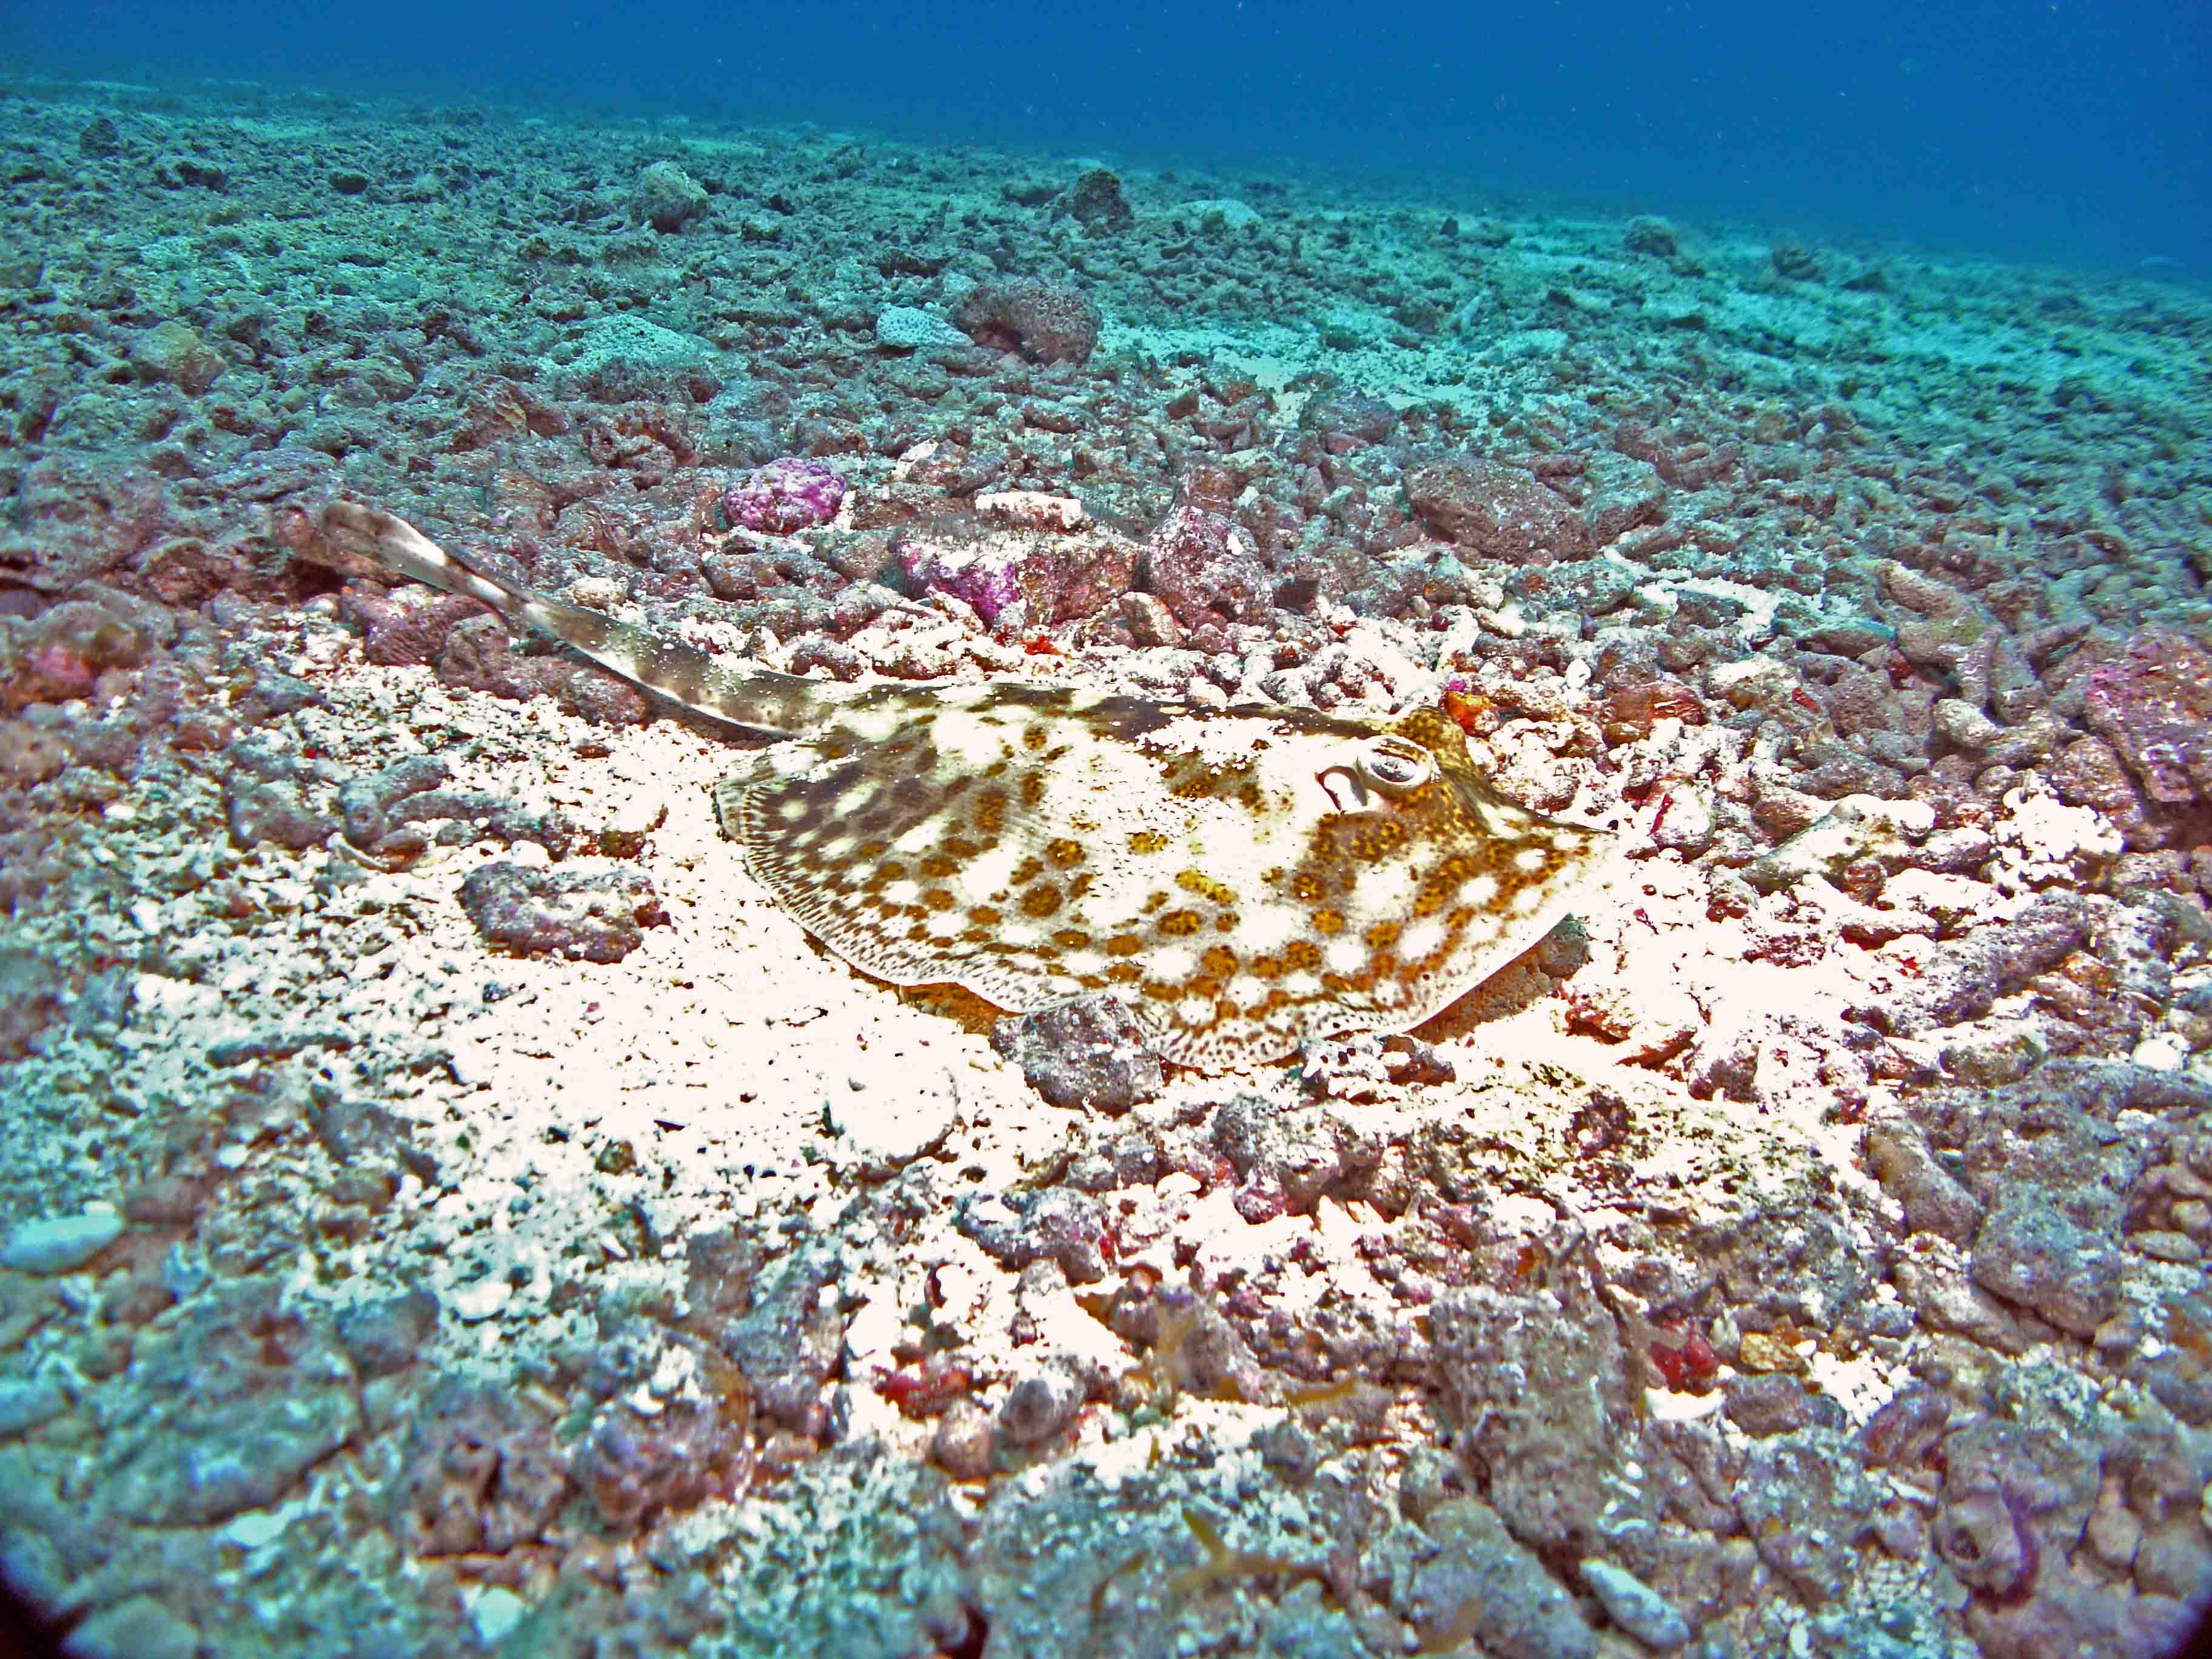
The strobe is now aimed properly
so as to light the subject. However, another
important factor is the power setting of the strobe. In the above
picture the
power was set to the maximum. The distance of the shot combined
with
ambient light created too much light essentially washing out the
subject. A
lower setting of 25% to 50% would have been enough. Another
option I have
yet to try is the new Intova Diffuser.
The strobe is effectively
lighting the subject. The distance to the subject is actually
only about 7 feet. The Intova Wide Angle Lens allows being closer
to the
subject. Being closer is very important as the water contains so
many
floating particles that the quality is reduced the further away you
are. The strobe
has an effective distance of about 12 feet. This varies of course
according to
the clarity of the water you are diving in. Shot in Cozumel at 30
feet down.
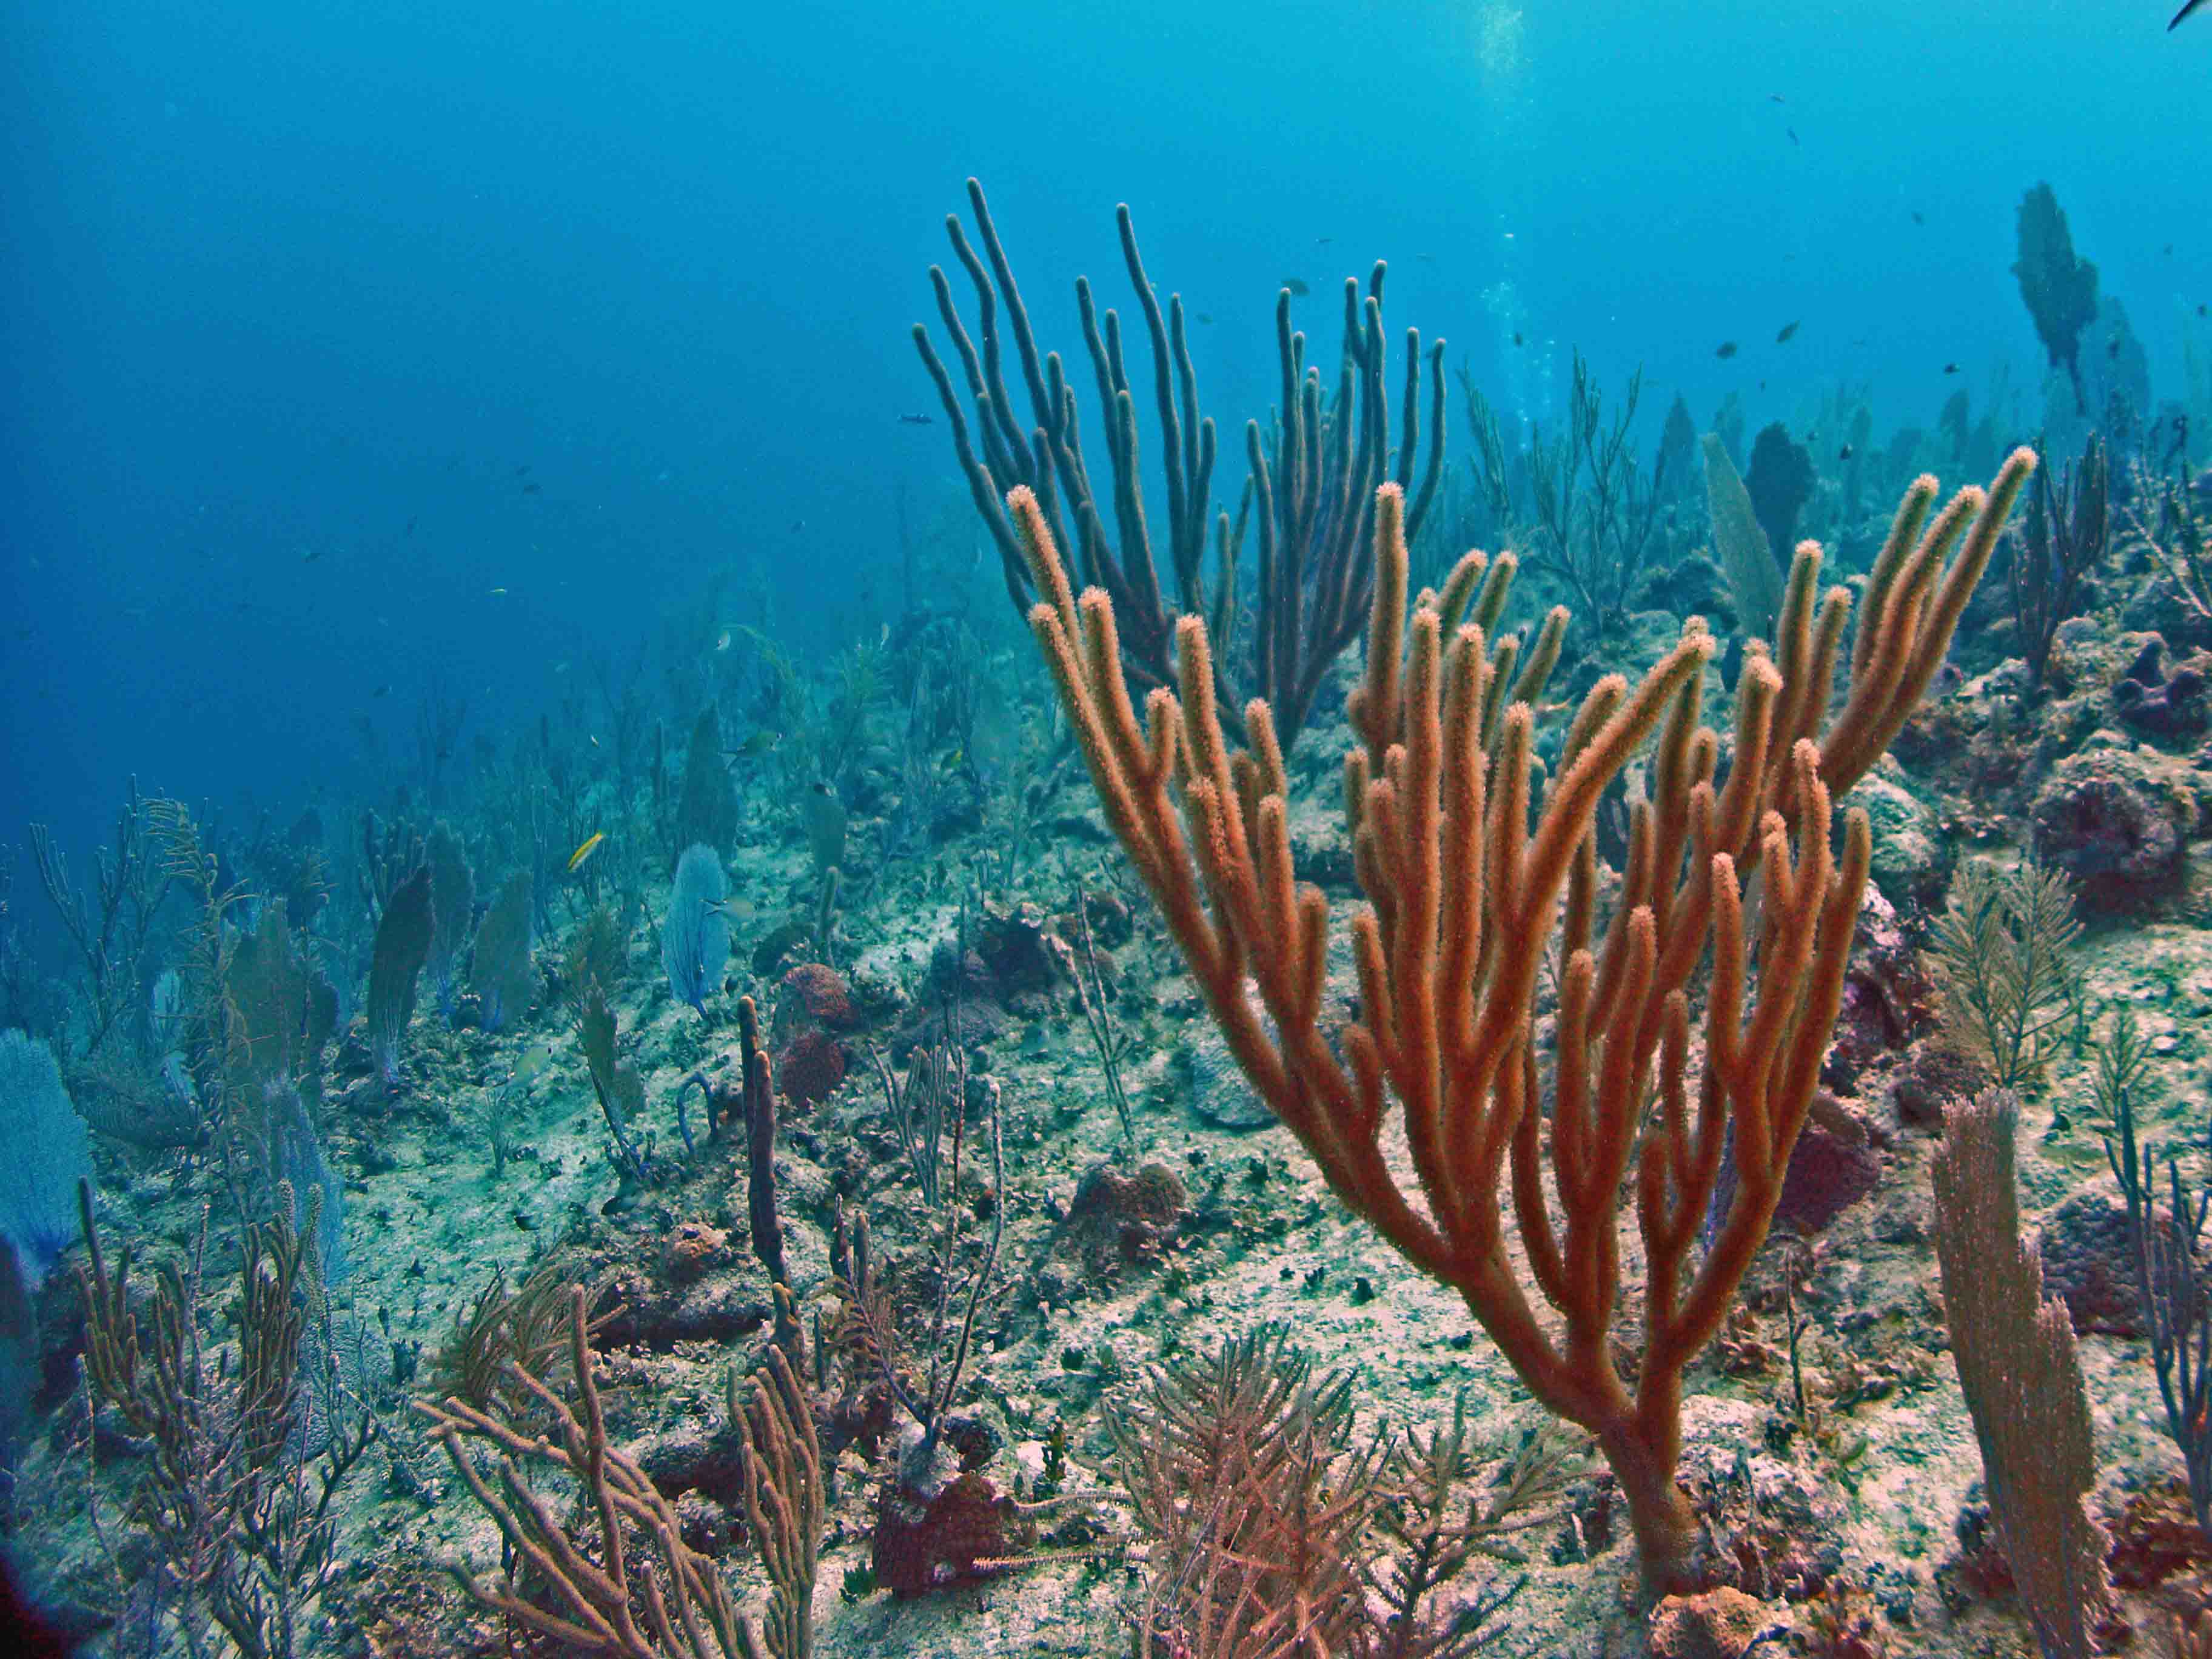
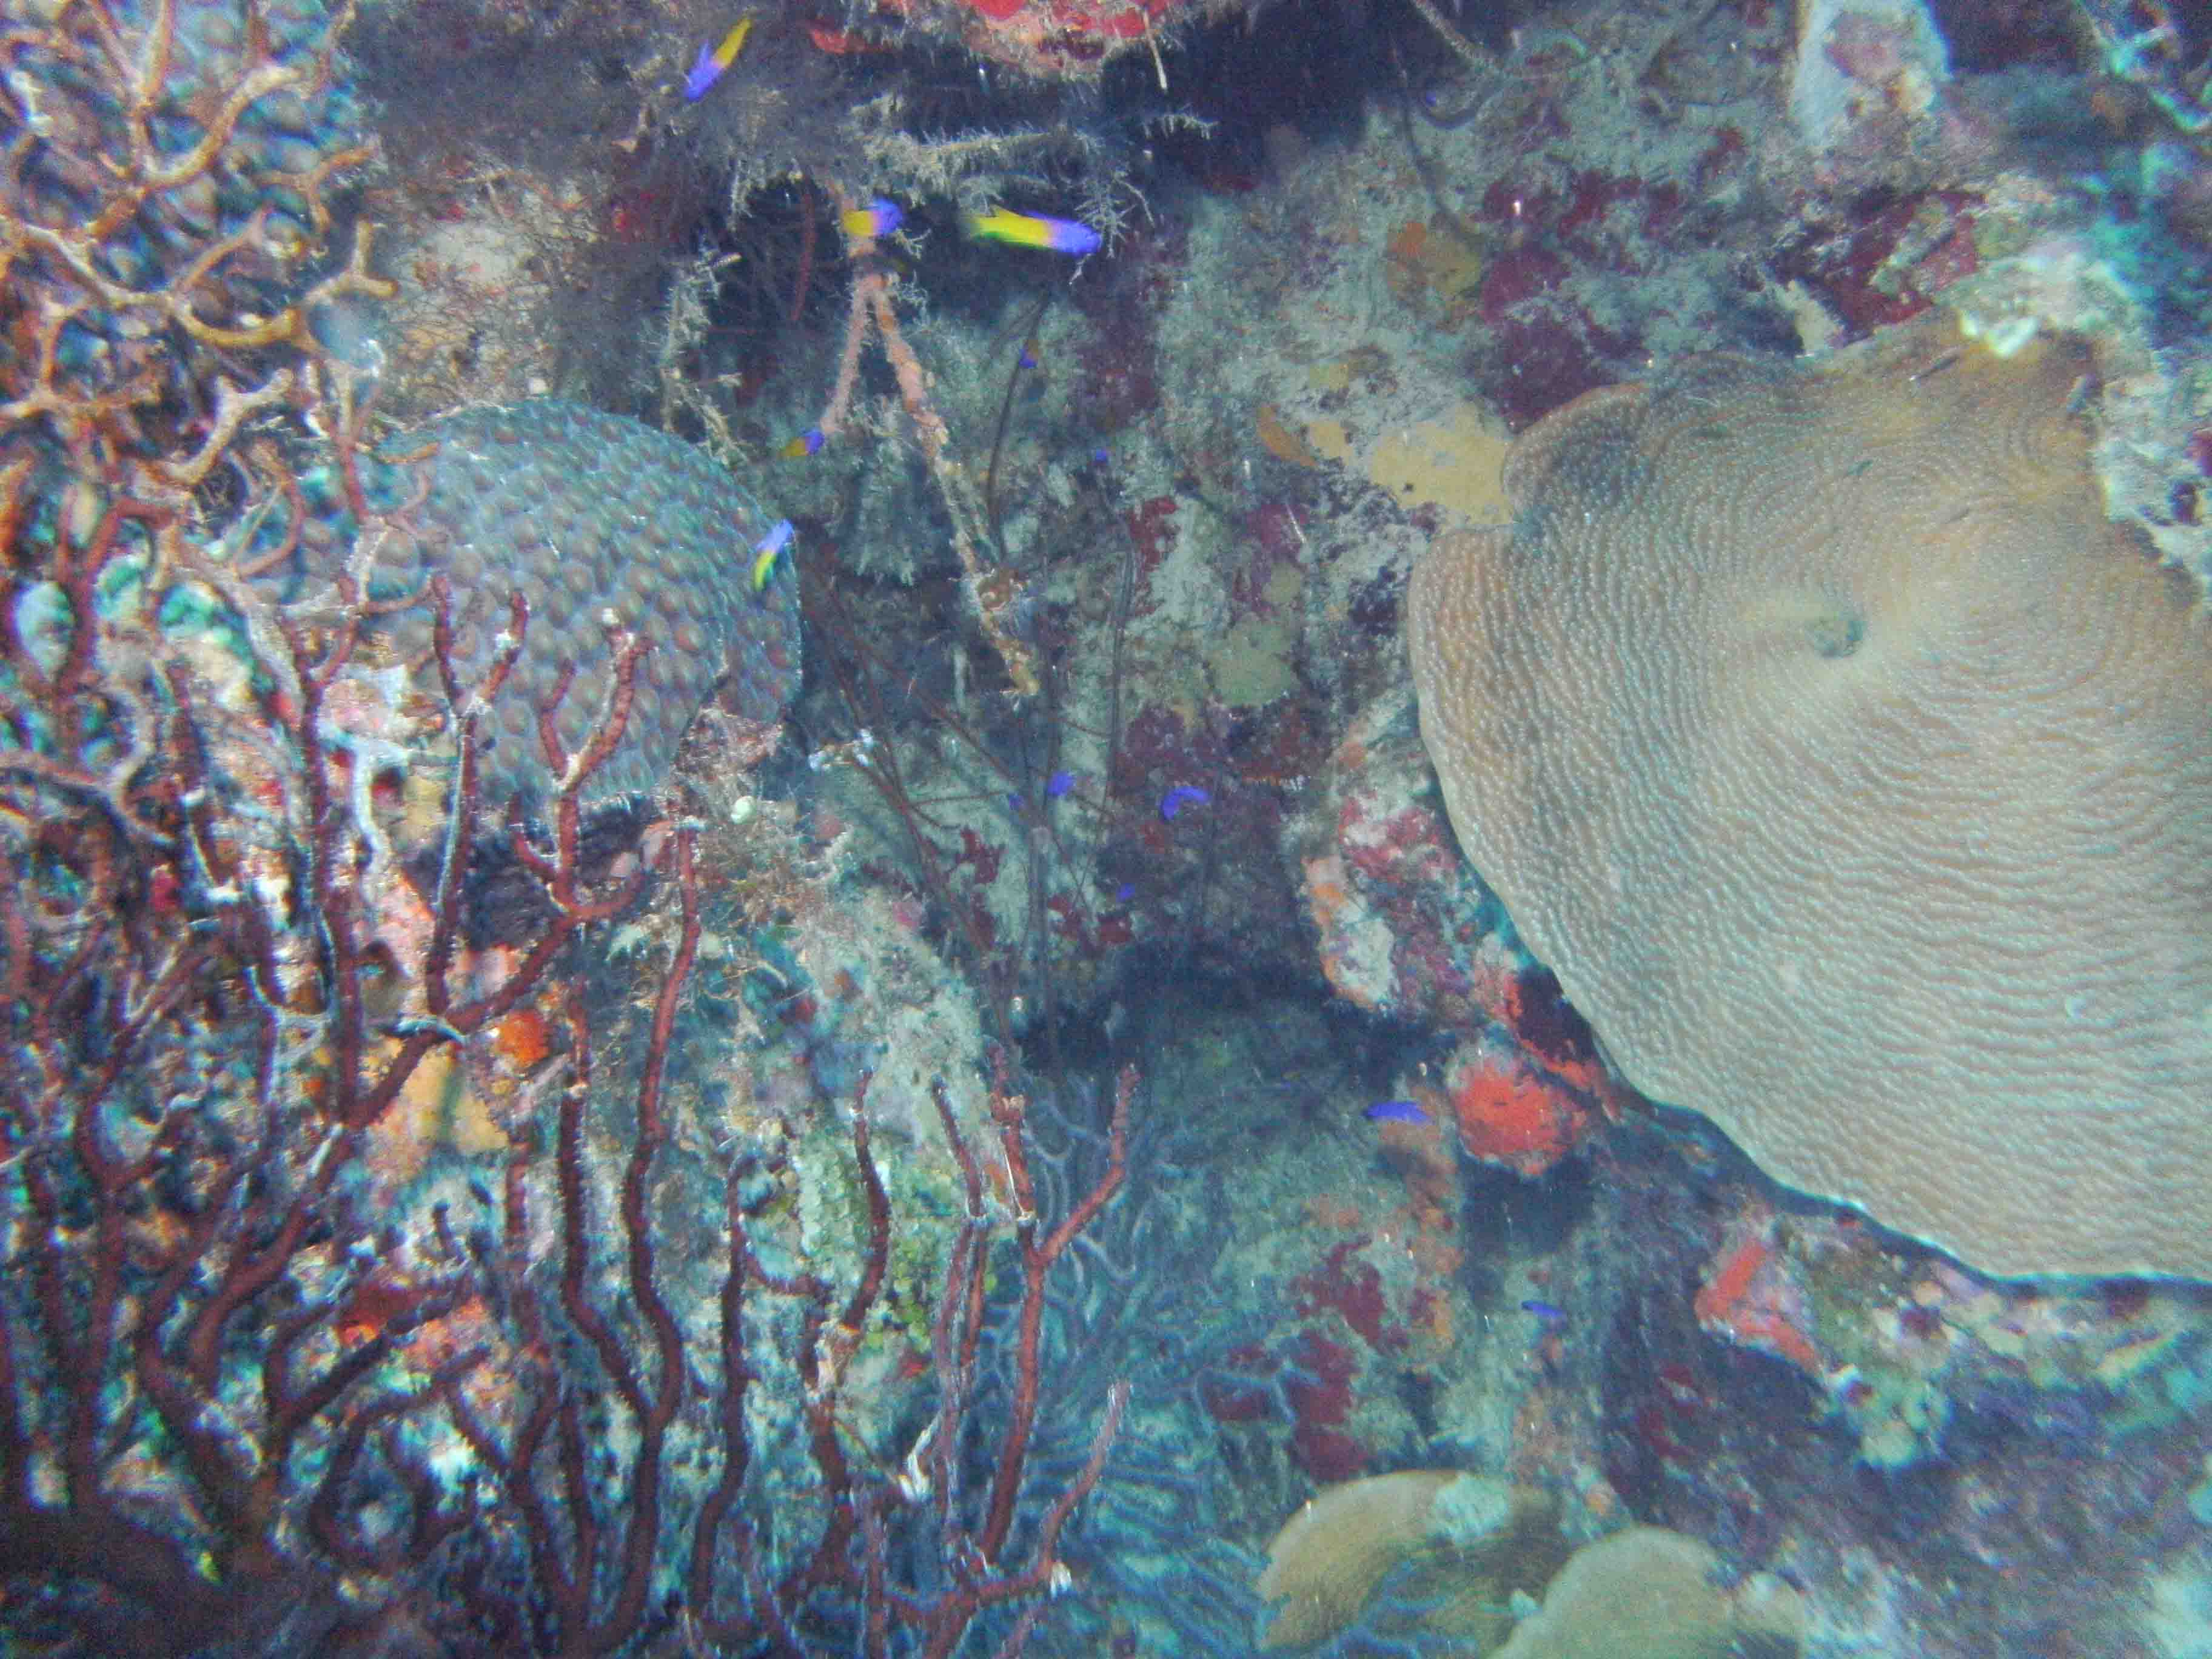
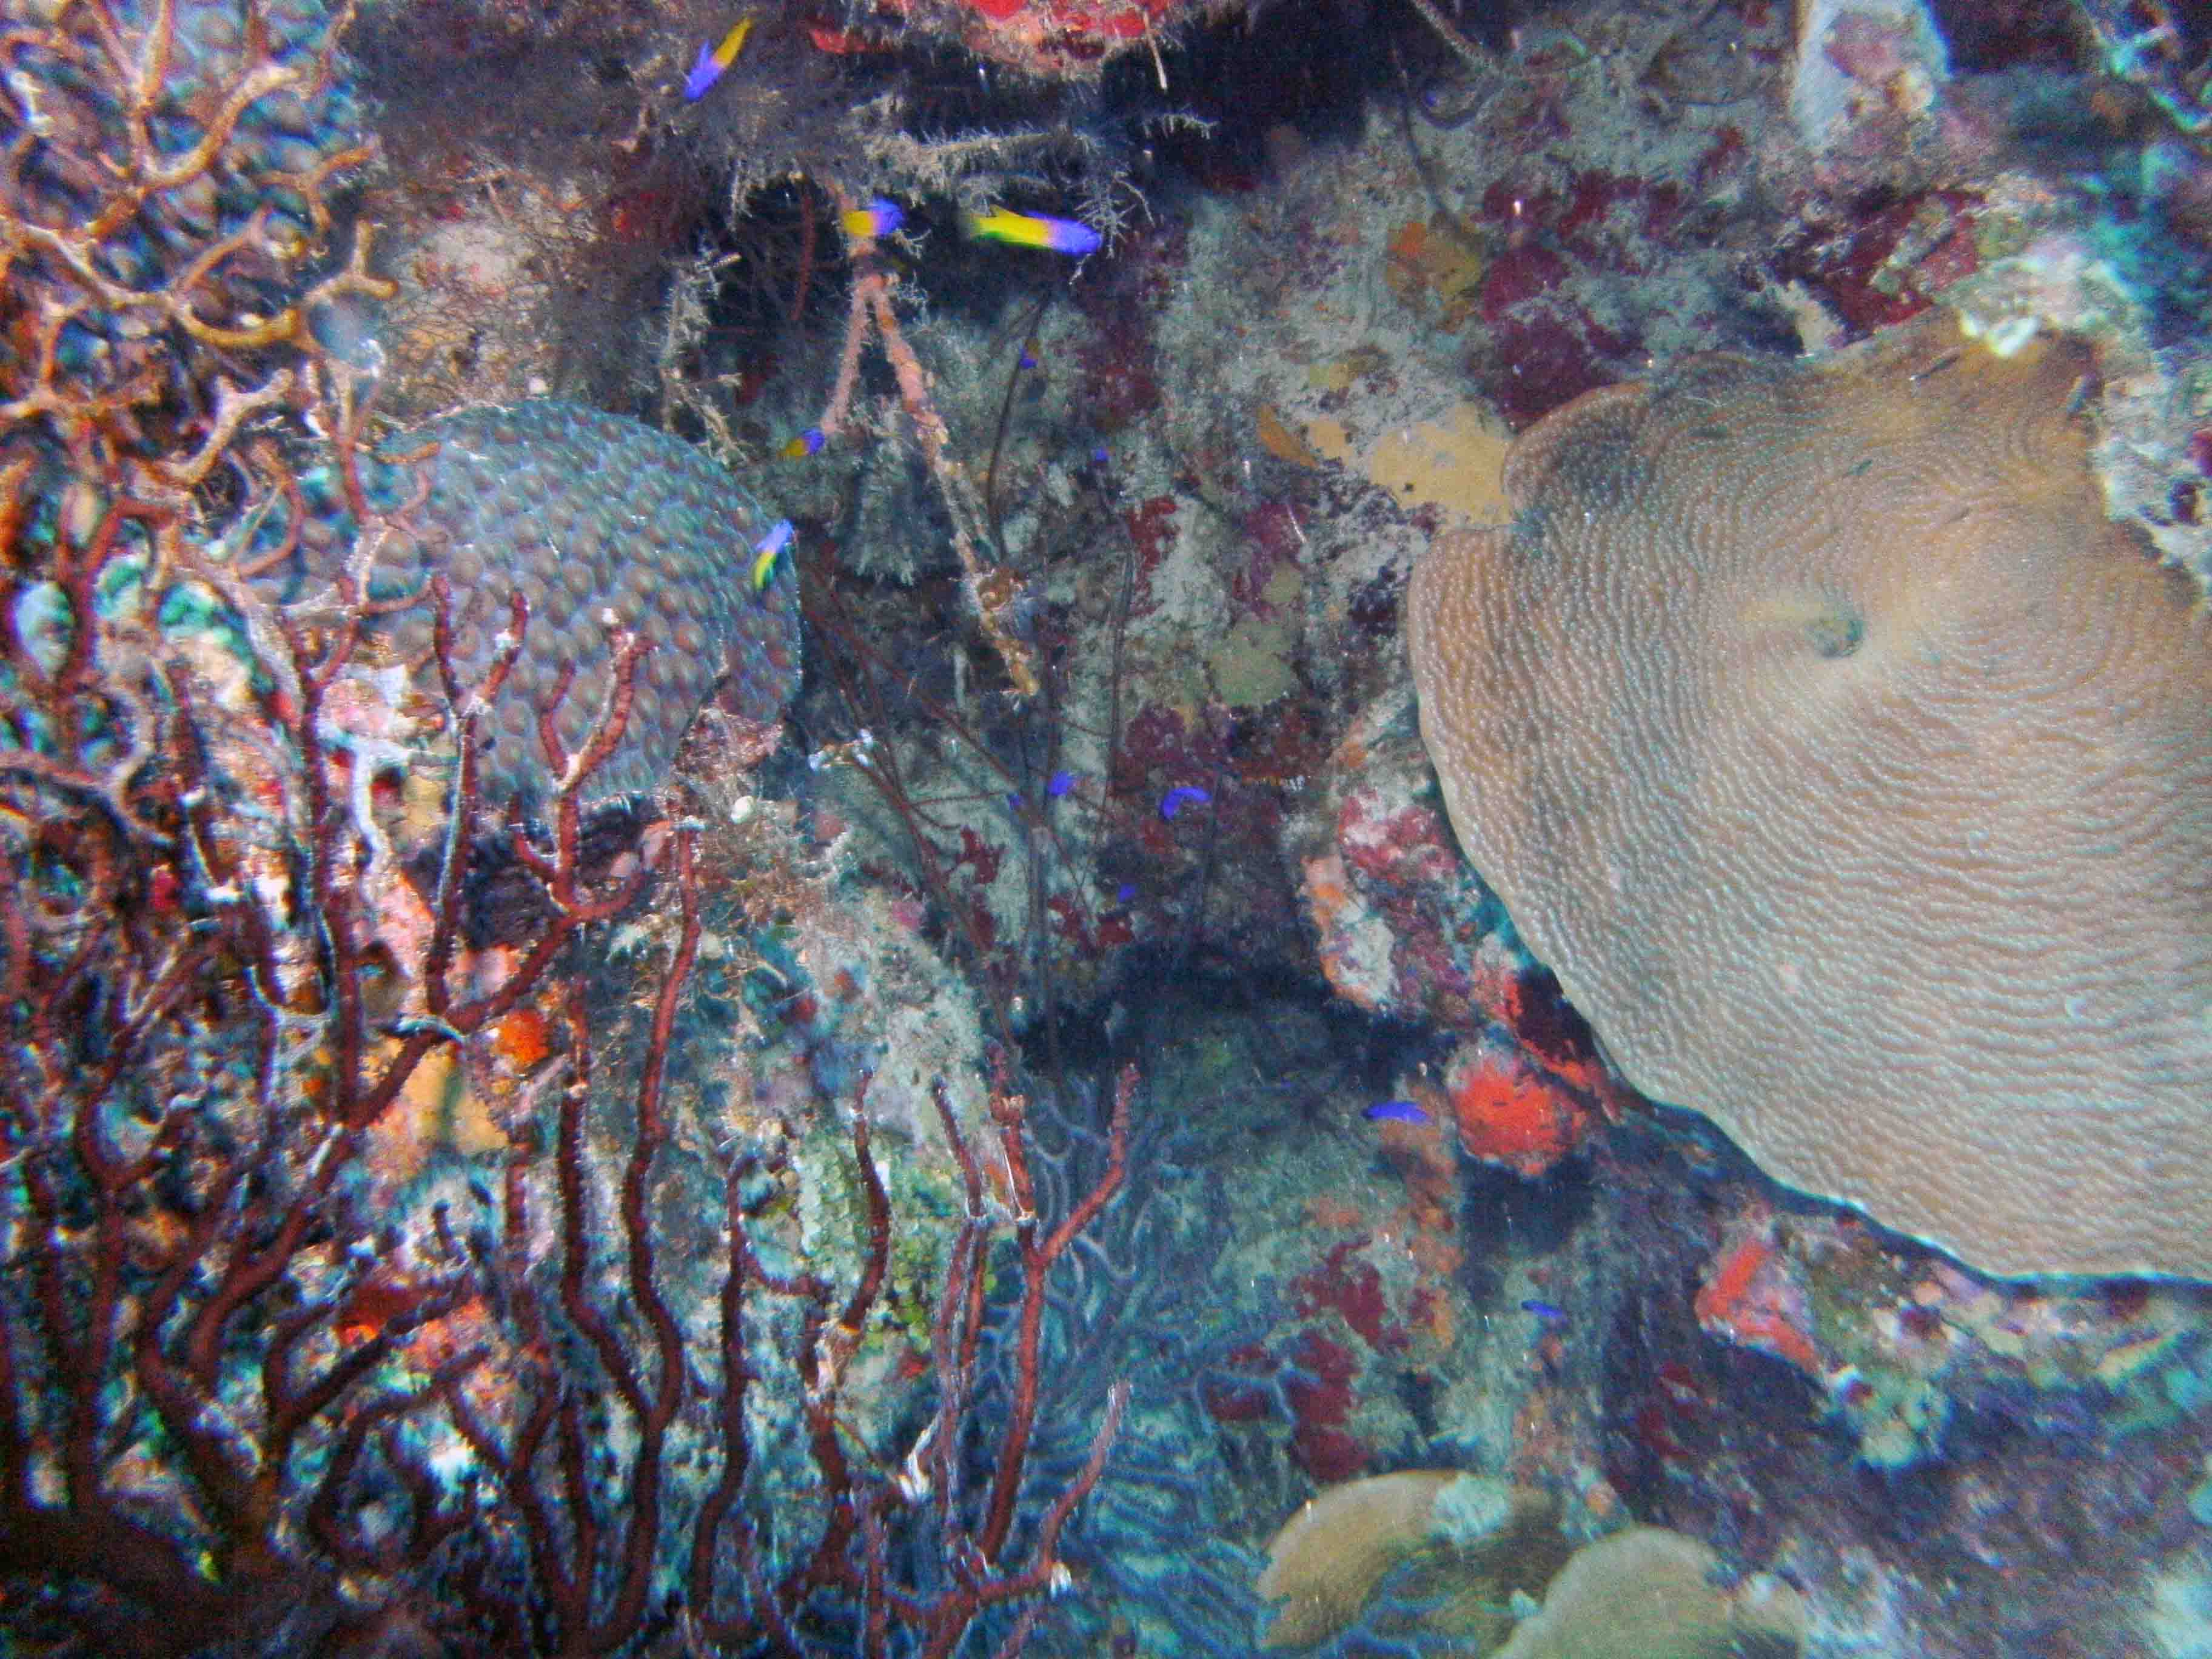
The effective distance of the
strobe is highighted here in coloration of near vs.
the further back branched coral. The closer coral shows off it's
soft brown with
reddish highlights brought out by the strobe. However, the coral
behind it is too
far for the strobe to effectively reach it. This is not
necessarily bad. In portrait
photography the backgrounds are intentionally muted to highlight the
subjects.
Both the aim and power level are correct. Shot in Nassau at 65
feet.

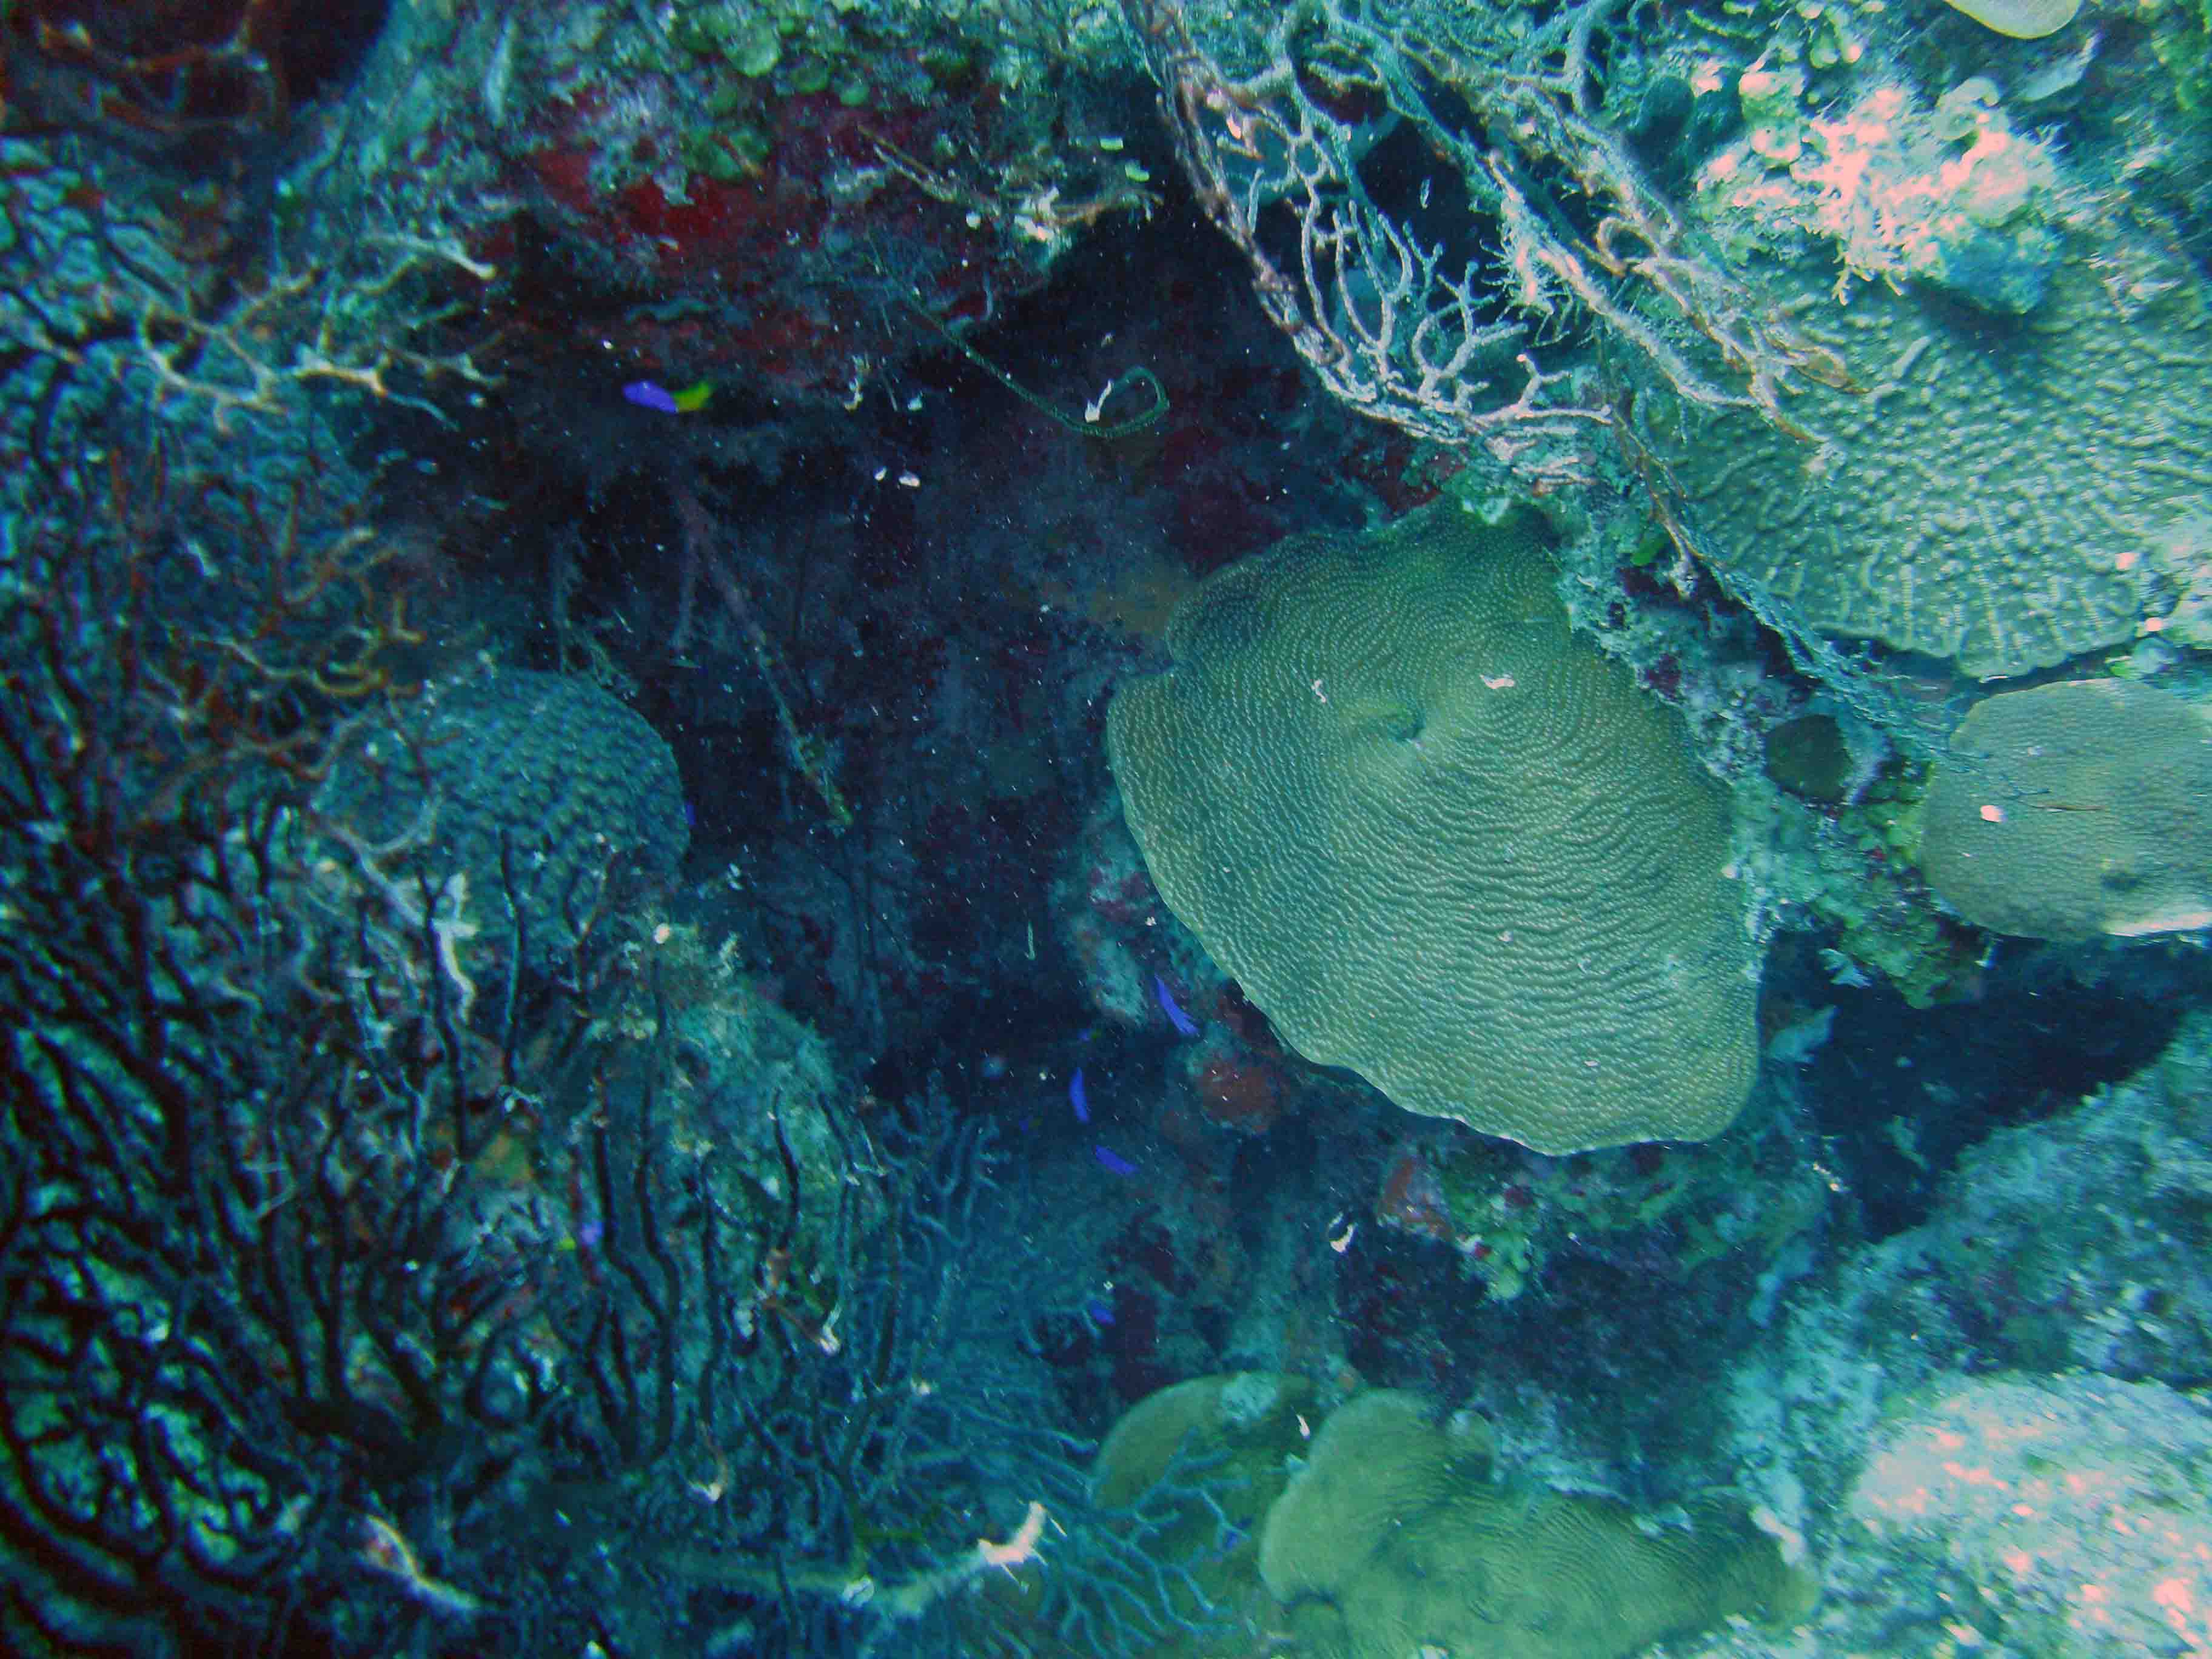
This picture can illustrate
either the limitation of the strobe or the effect of
improperly aiming. The area on the left is the focus of the
picture. Although it can
be left this way to show the contrast, there is a less artsy feel
to it. The picture
can be greatly improved as seen on the right. Shot in
Cozumel at 55 feet down.
Using photoshop the picture has
been cropped to the area of focus. The poorly
lighted or misaimed area has been removed. The result is a photo
that has
good color depth and emphasizes the spineless coral. This
is where the issue
of megapixels comes in. Having more megapixels gives the
ability to crop
photos and still retain printable quality resolution. I switched
from the 5 to the
10 megapixel Intova in order to have this ability.
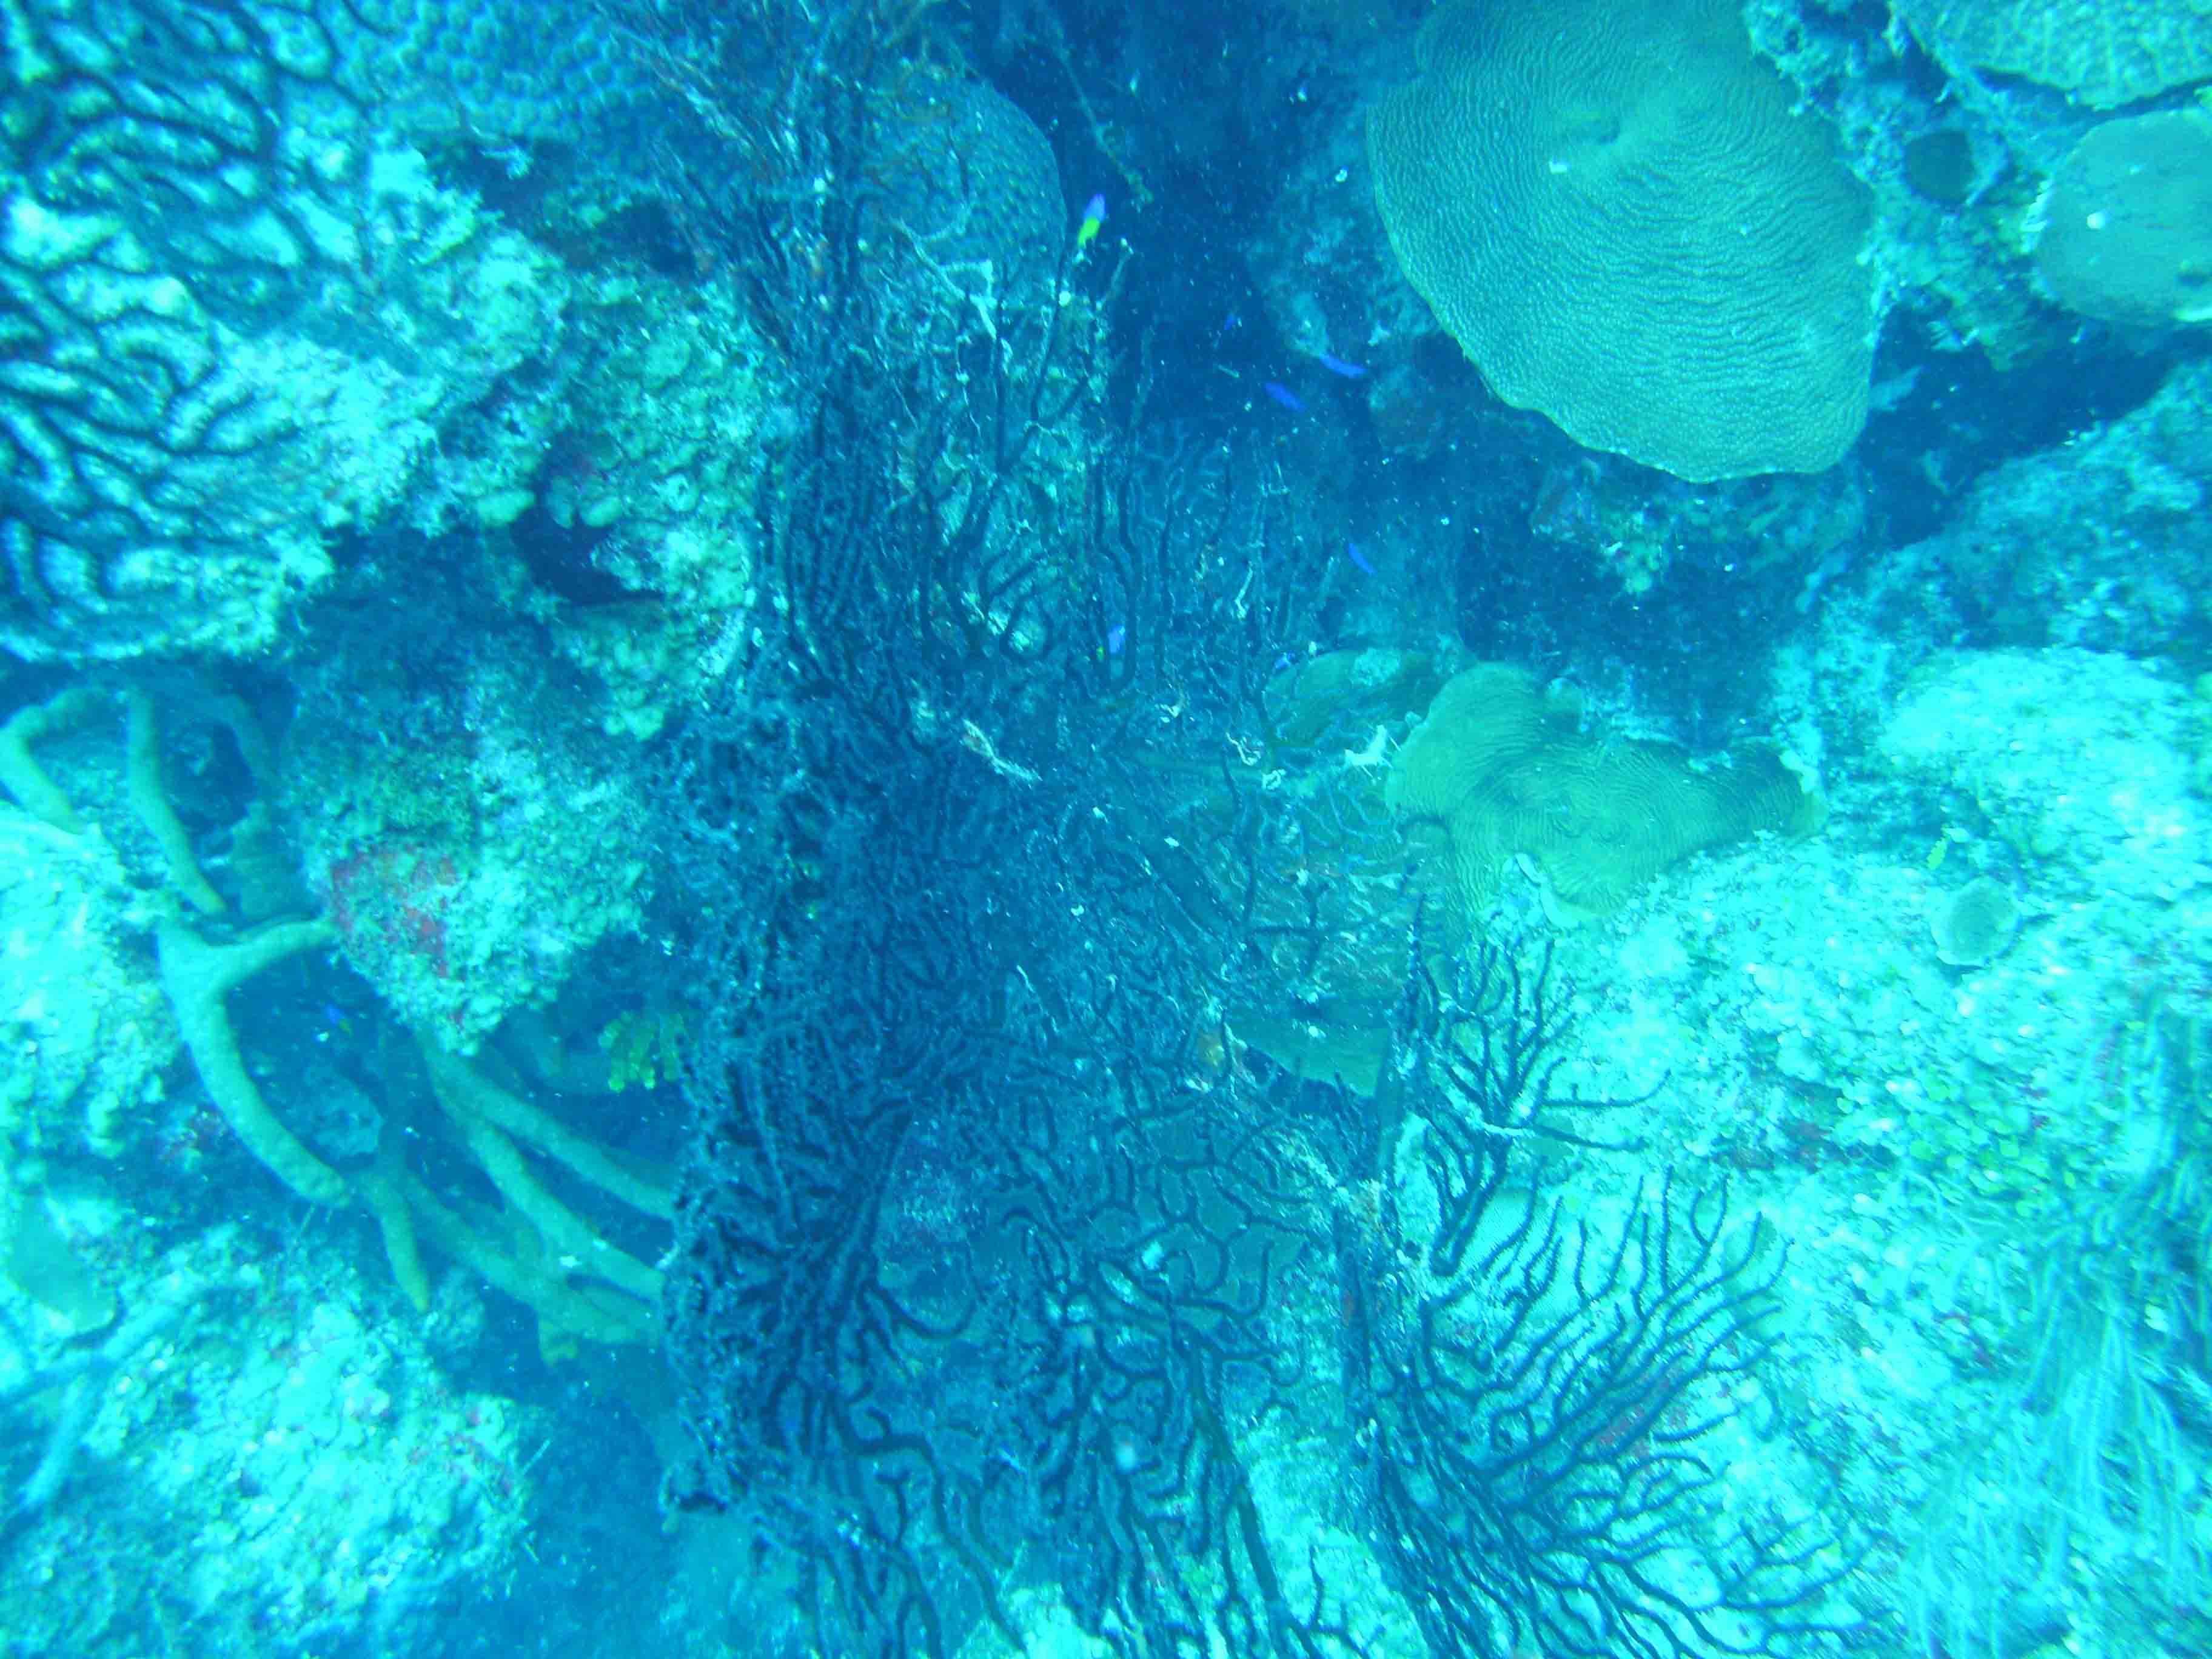
The strobe must be properly set
as to its "preflash." Many cameras use a preflash to prevent
people from closing their eyes when the actual picture is taken.
If the preflash is not properly set, the strobe flash will not line up
with the opening of the shutter and taking of the picture. At 78
feet down this coral at Grand Turk appears like everything else, a
greenish blue. I took multiple pictures, one at each setting to
assure the proper preflash. The picture on the right shows an
improvement in the preflash setting. However, it is still not
ideal.
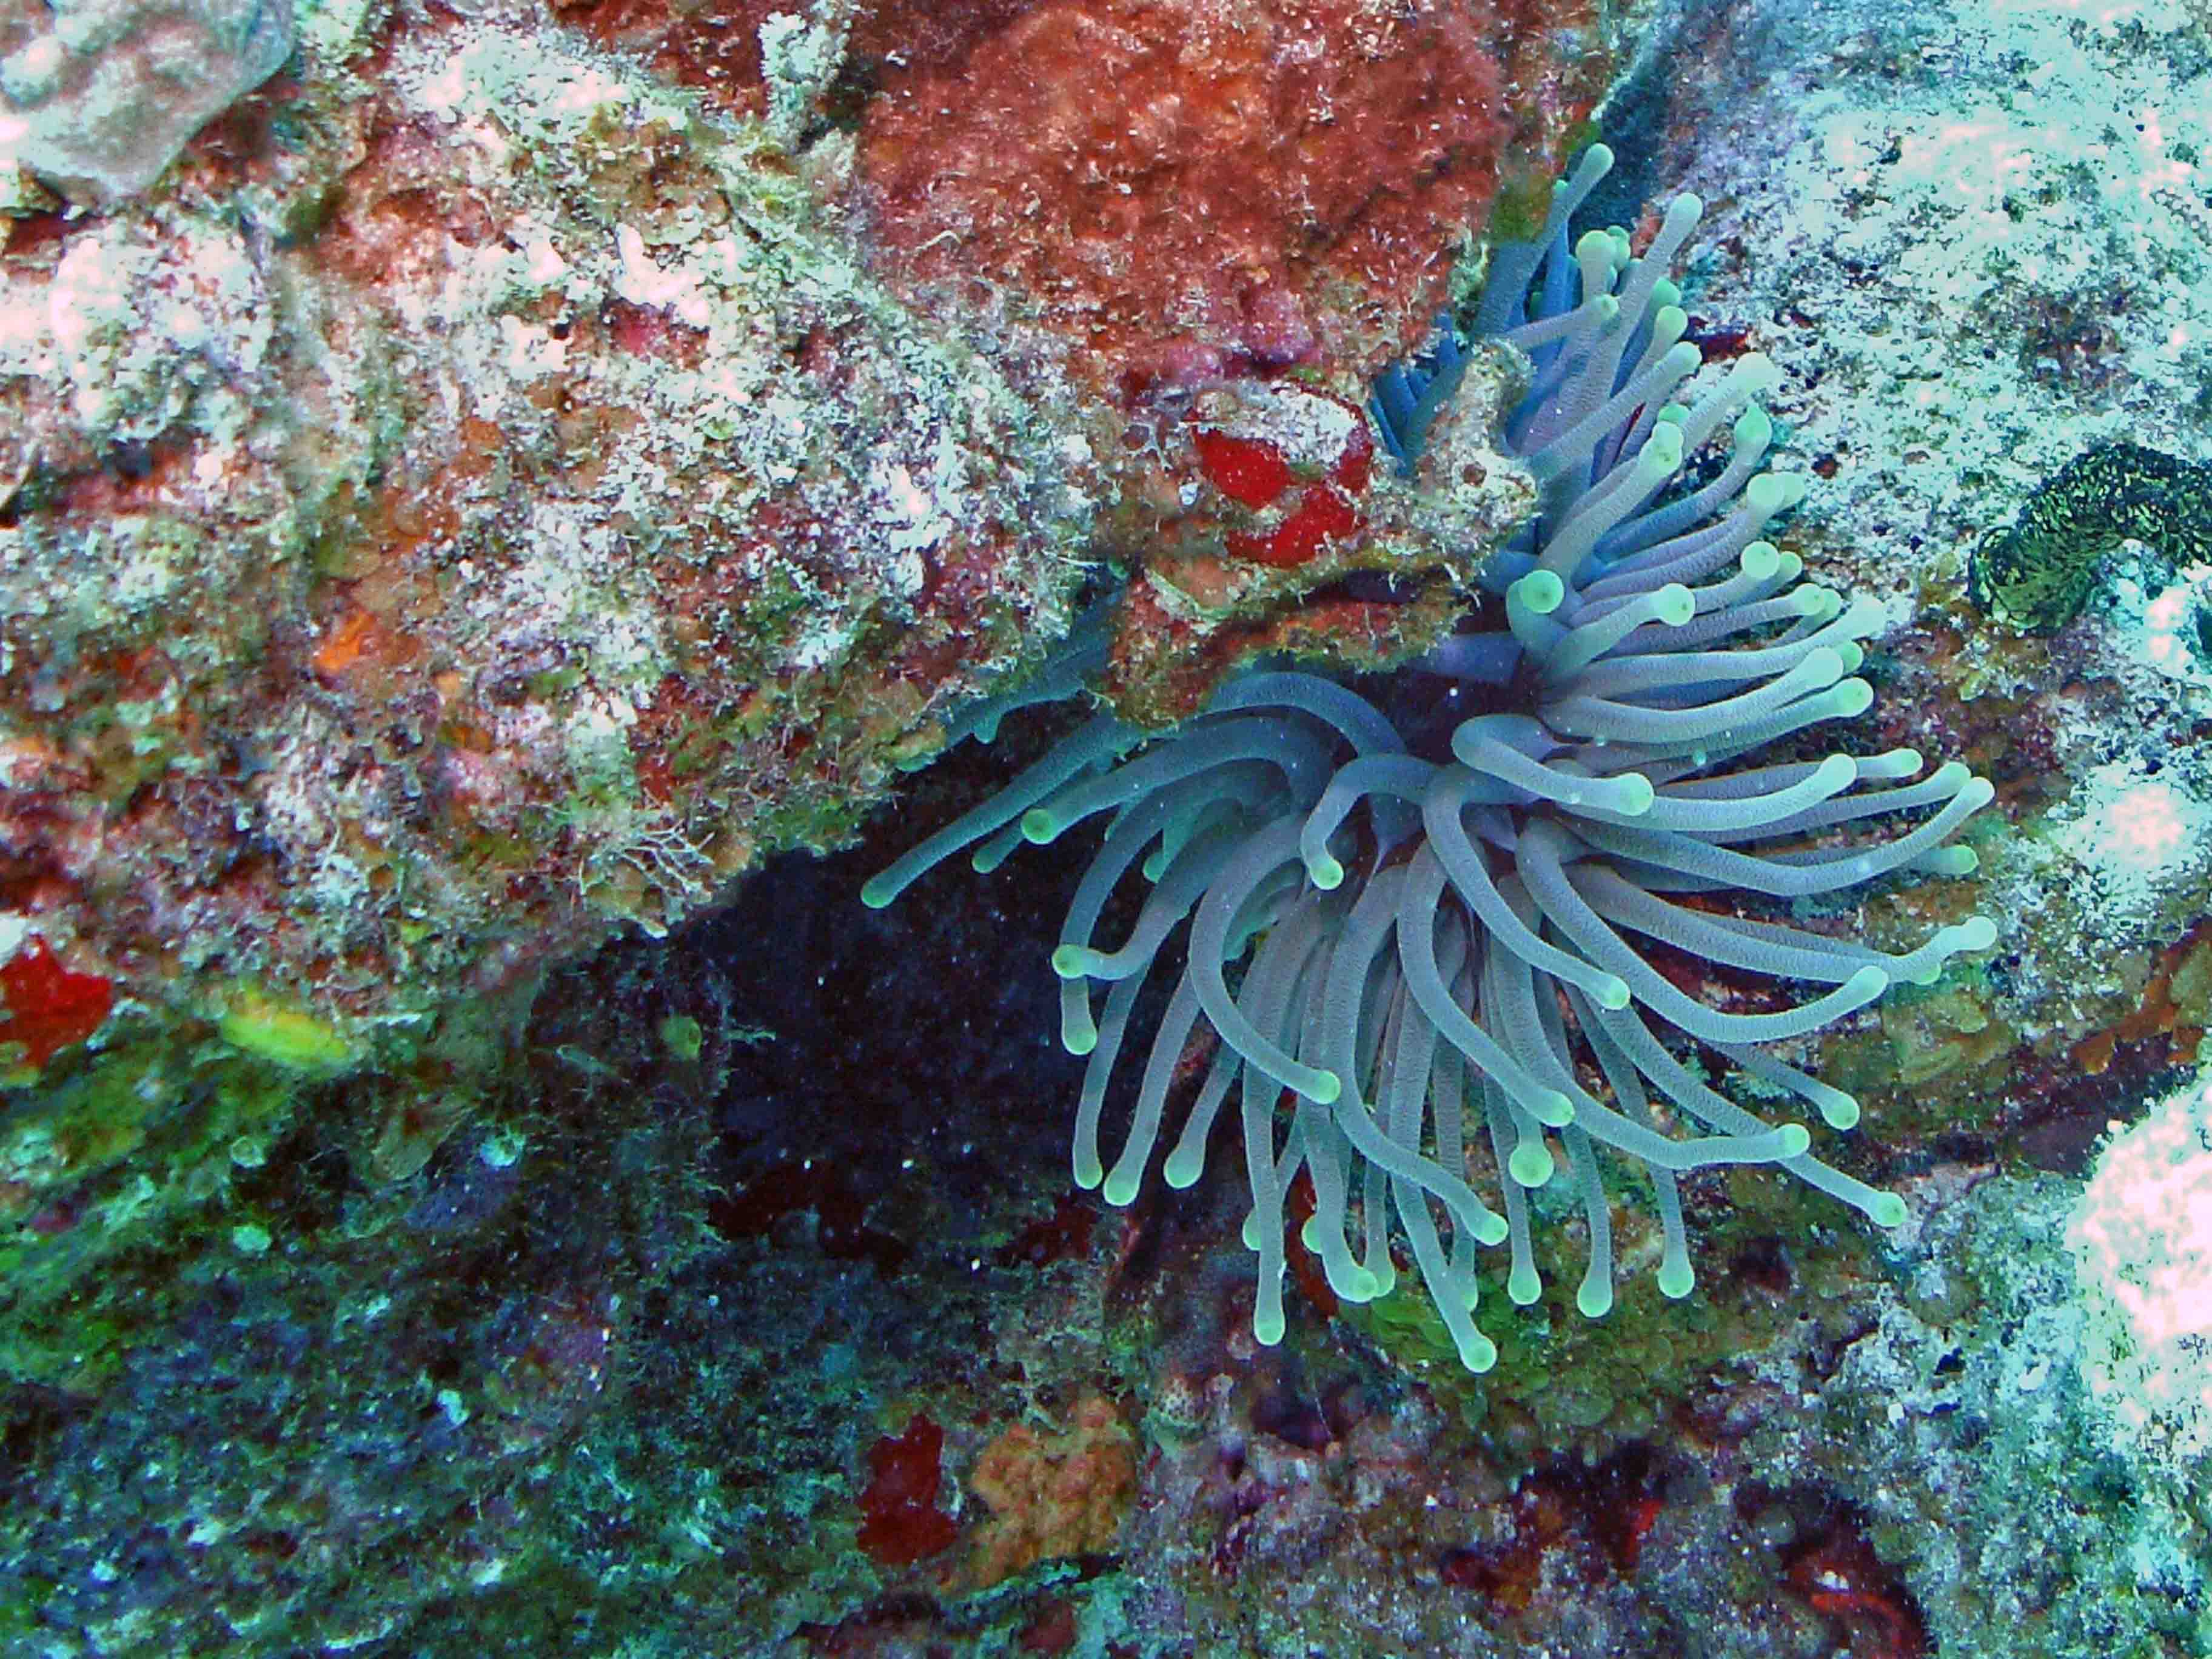
This picture has the correct
preflash. The true colors of the coral and the
juvenial fish are now being captured. This is at the recommended
preset of "2"
on the Intova ISS2000 Strobe when shooting with the Intova IC10.
The strobe
can be used with other
cameras as well however the preset for the flash may
differ.
Taking the image from the left
and putting it into Photoshop can help restore
color and clarity to the photograph. I will have a separate
lesson on using
Photoshop to clean up your pictures.
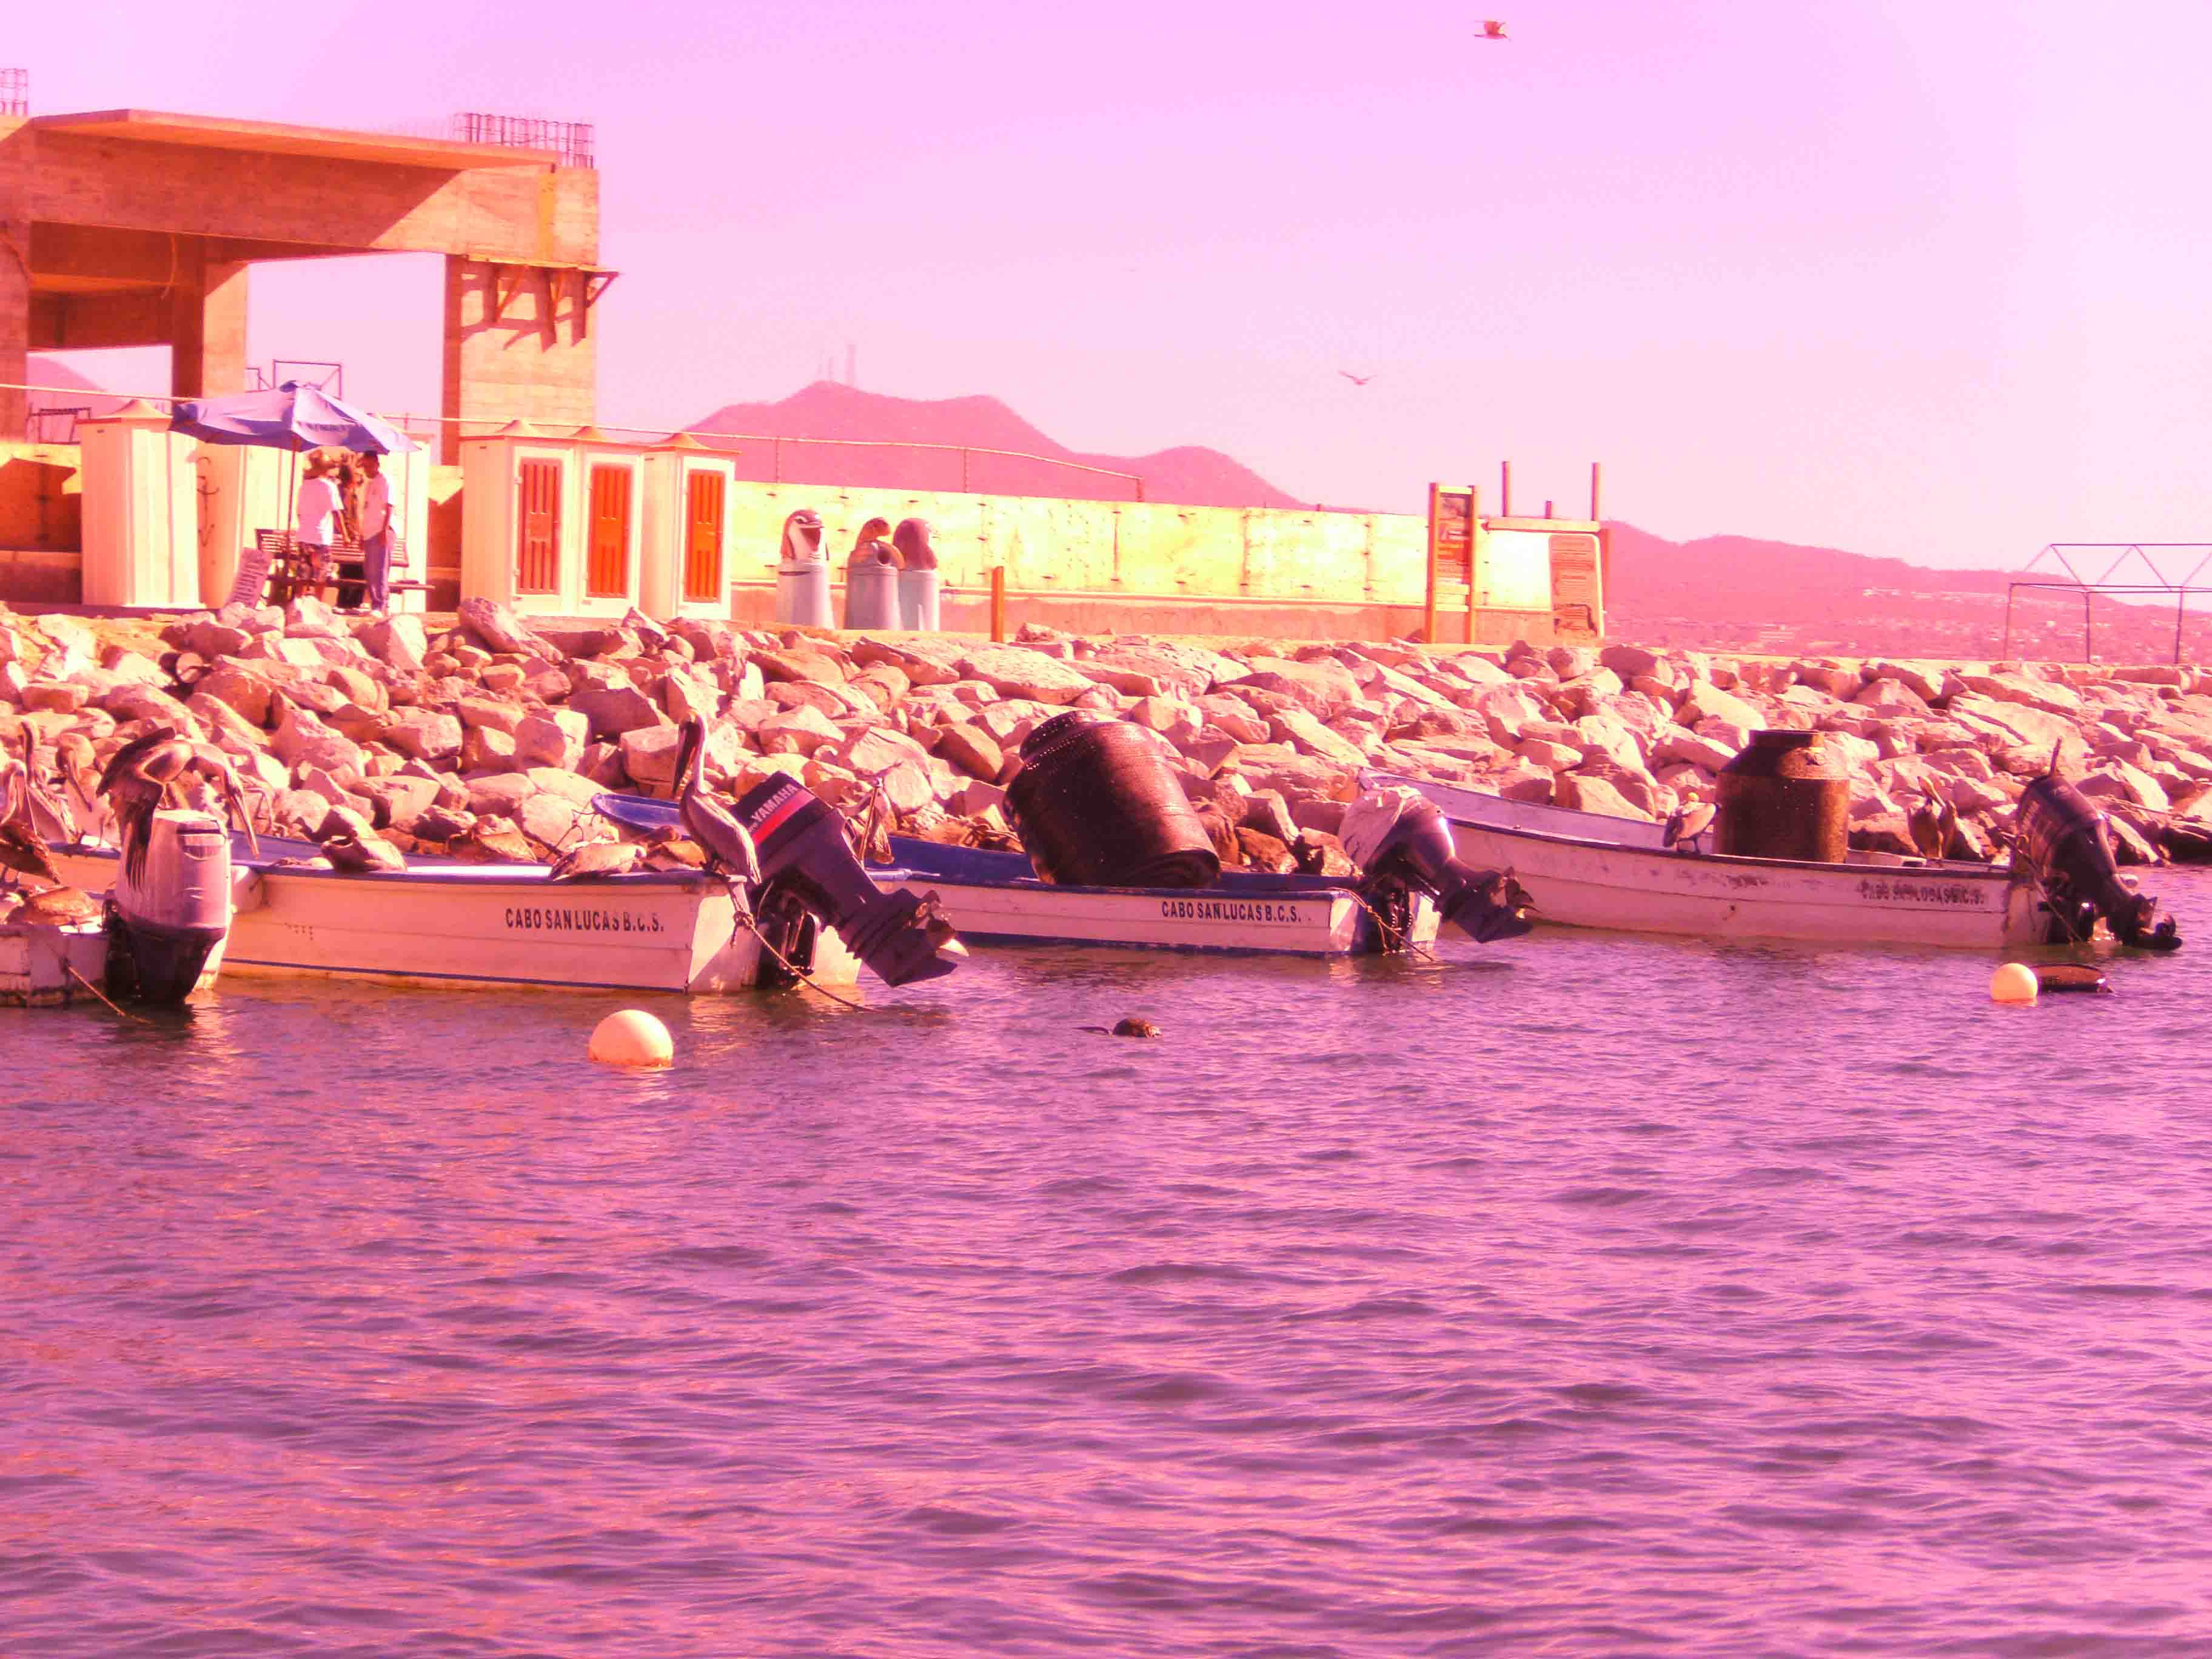
| The red filter is being used
above water to give you a perspective of how it tints the picture. In Black and White Photography red filters create contrast and a crispness to images. For underwater video the red filter is absolutely essential. Having the red filter handy allows you to switch to the video mode and get a much better quality video image. |
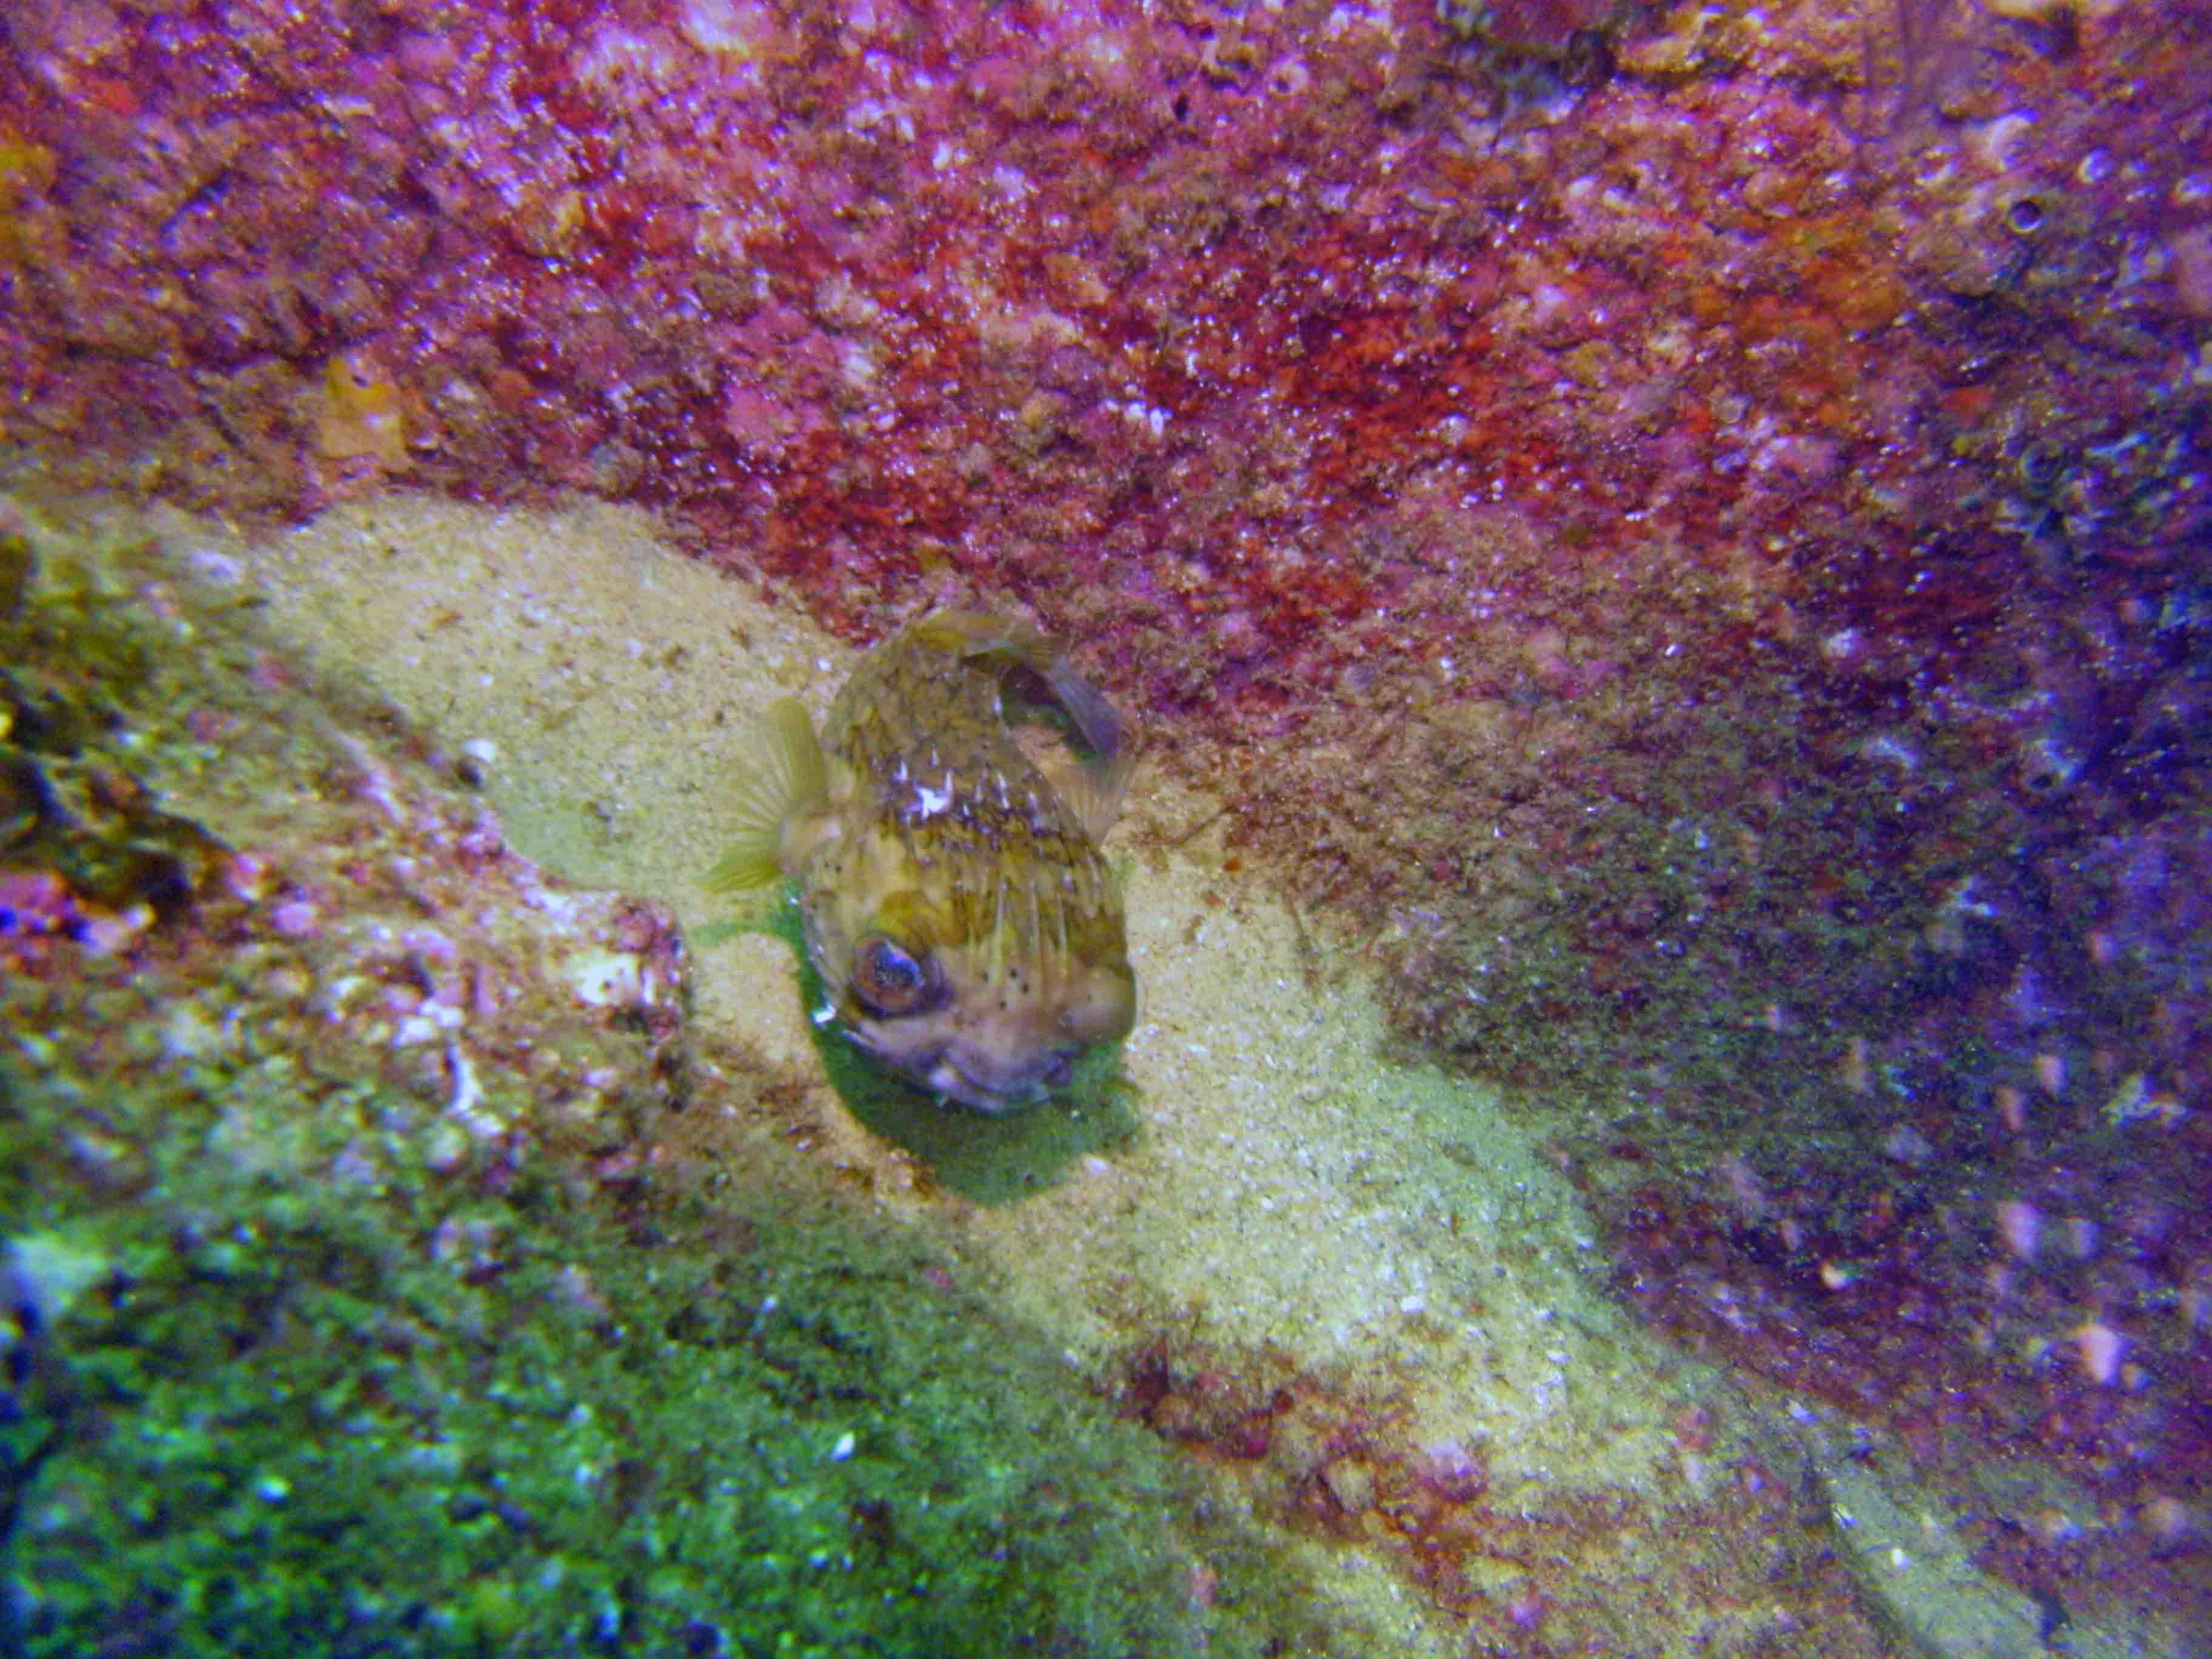
Here the red filter is being
used in combination with the strobe. The effect of the strobe can be seen in casting a slight shadow underneath this porcupine puffer fish. The red filter at this close proximity helps the yellow but slightly over emphasizes the red. Here, the strobe without the red filter would produce a better image. |
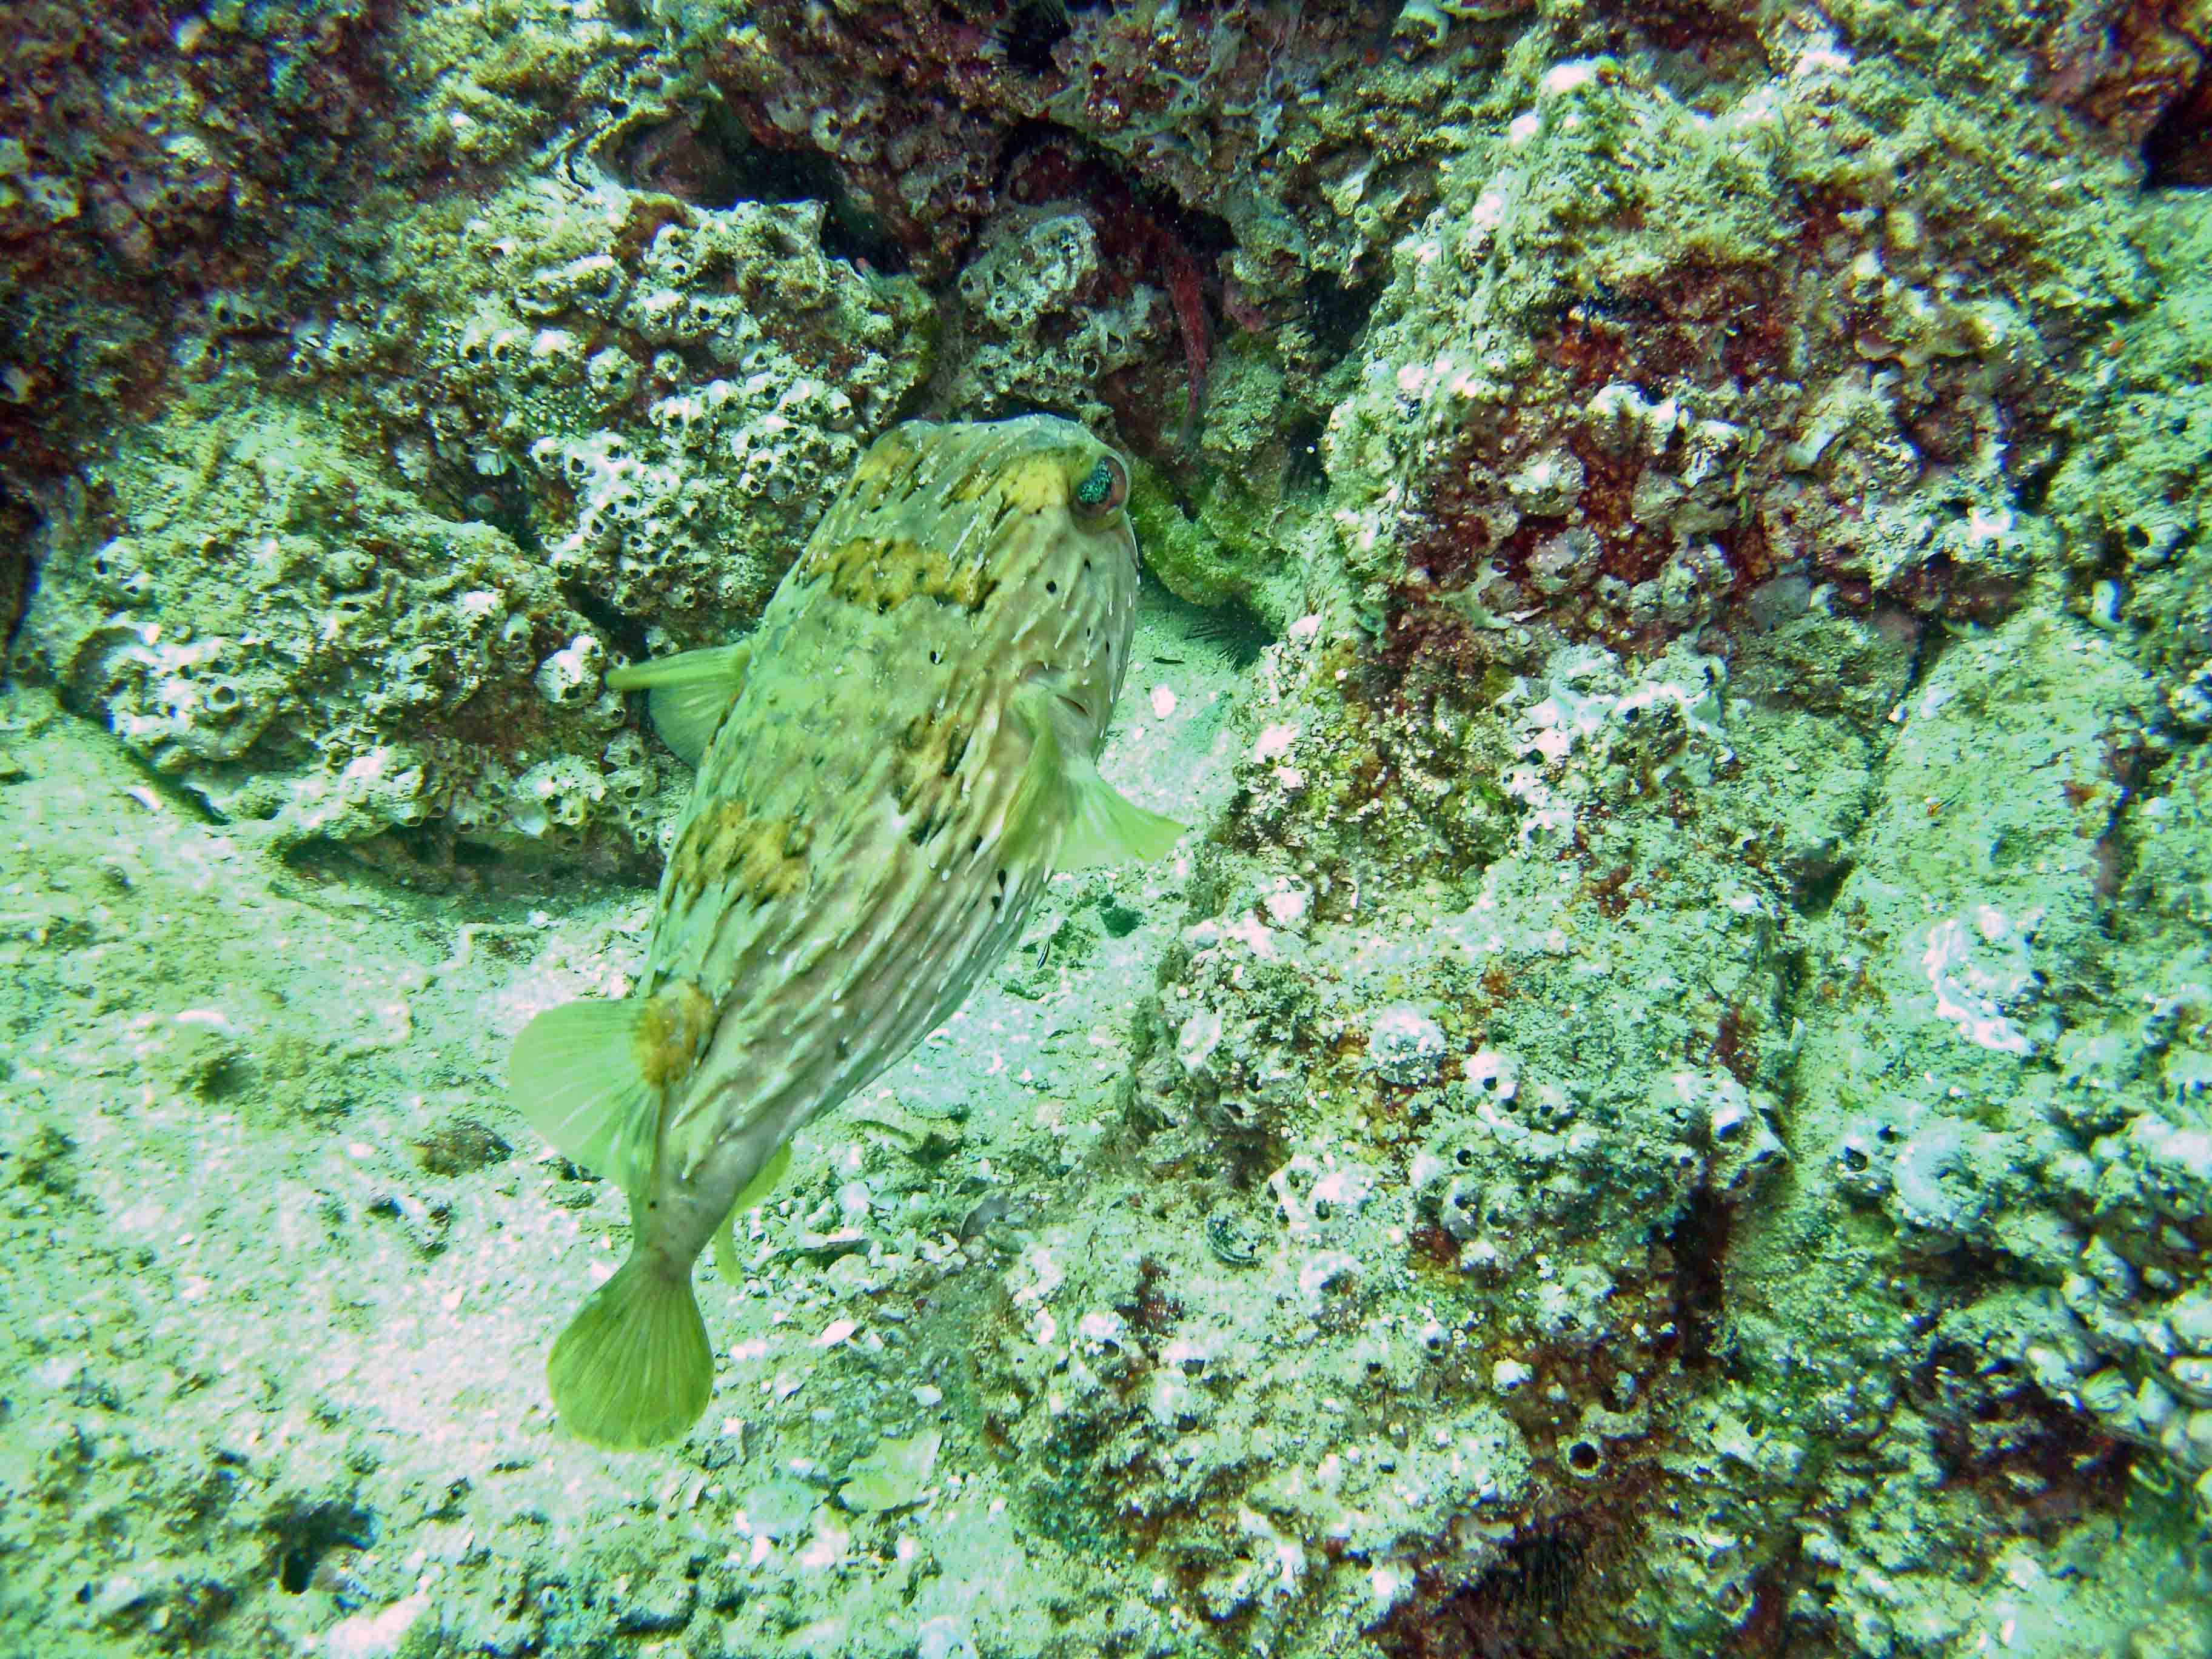
The combination of the red
filter and the strobe worked here to bring out the
porcupine puffer. The ambient light was poor. Although only
about 45 feet
down the large rock "finger" at Cabo San Lucas made this a darker area.
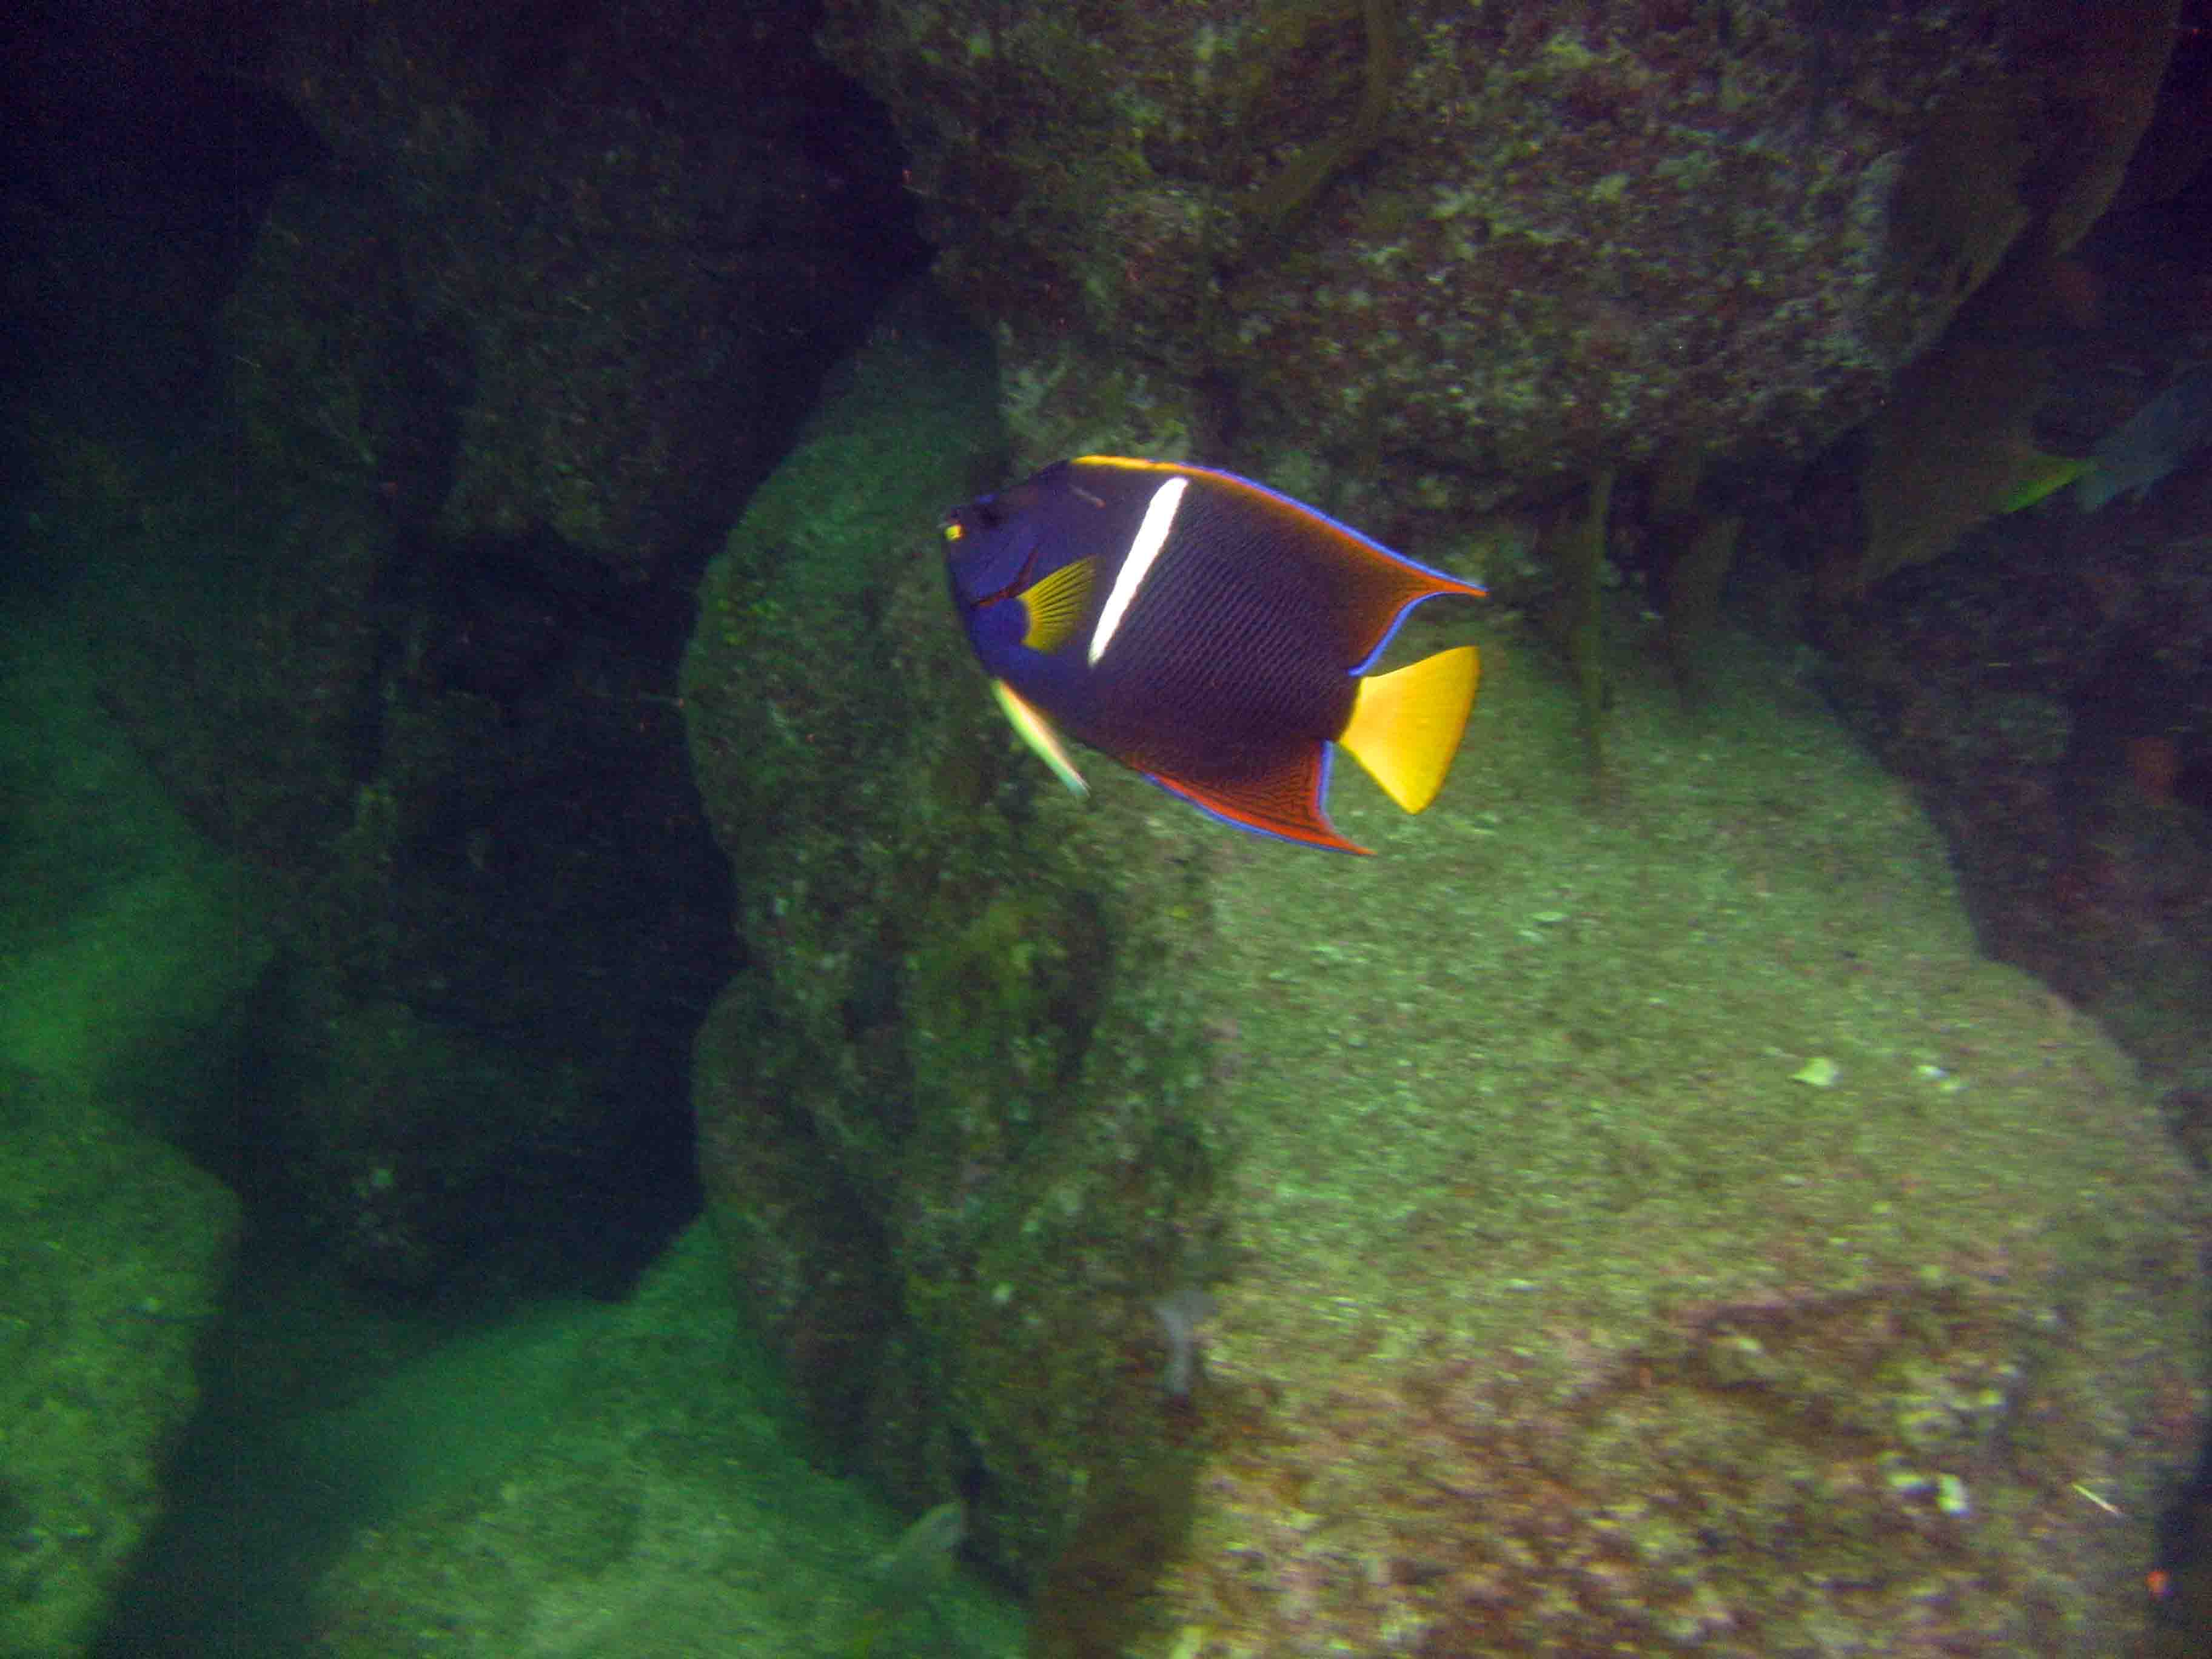
At 70 feet down the ambient
light was poor and visibility cut to about 15
feet. However, the combination of the strobe and red filter
brought out the
incredible colors of the angel fish. Shot in Cabo San Lucas.
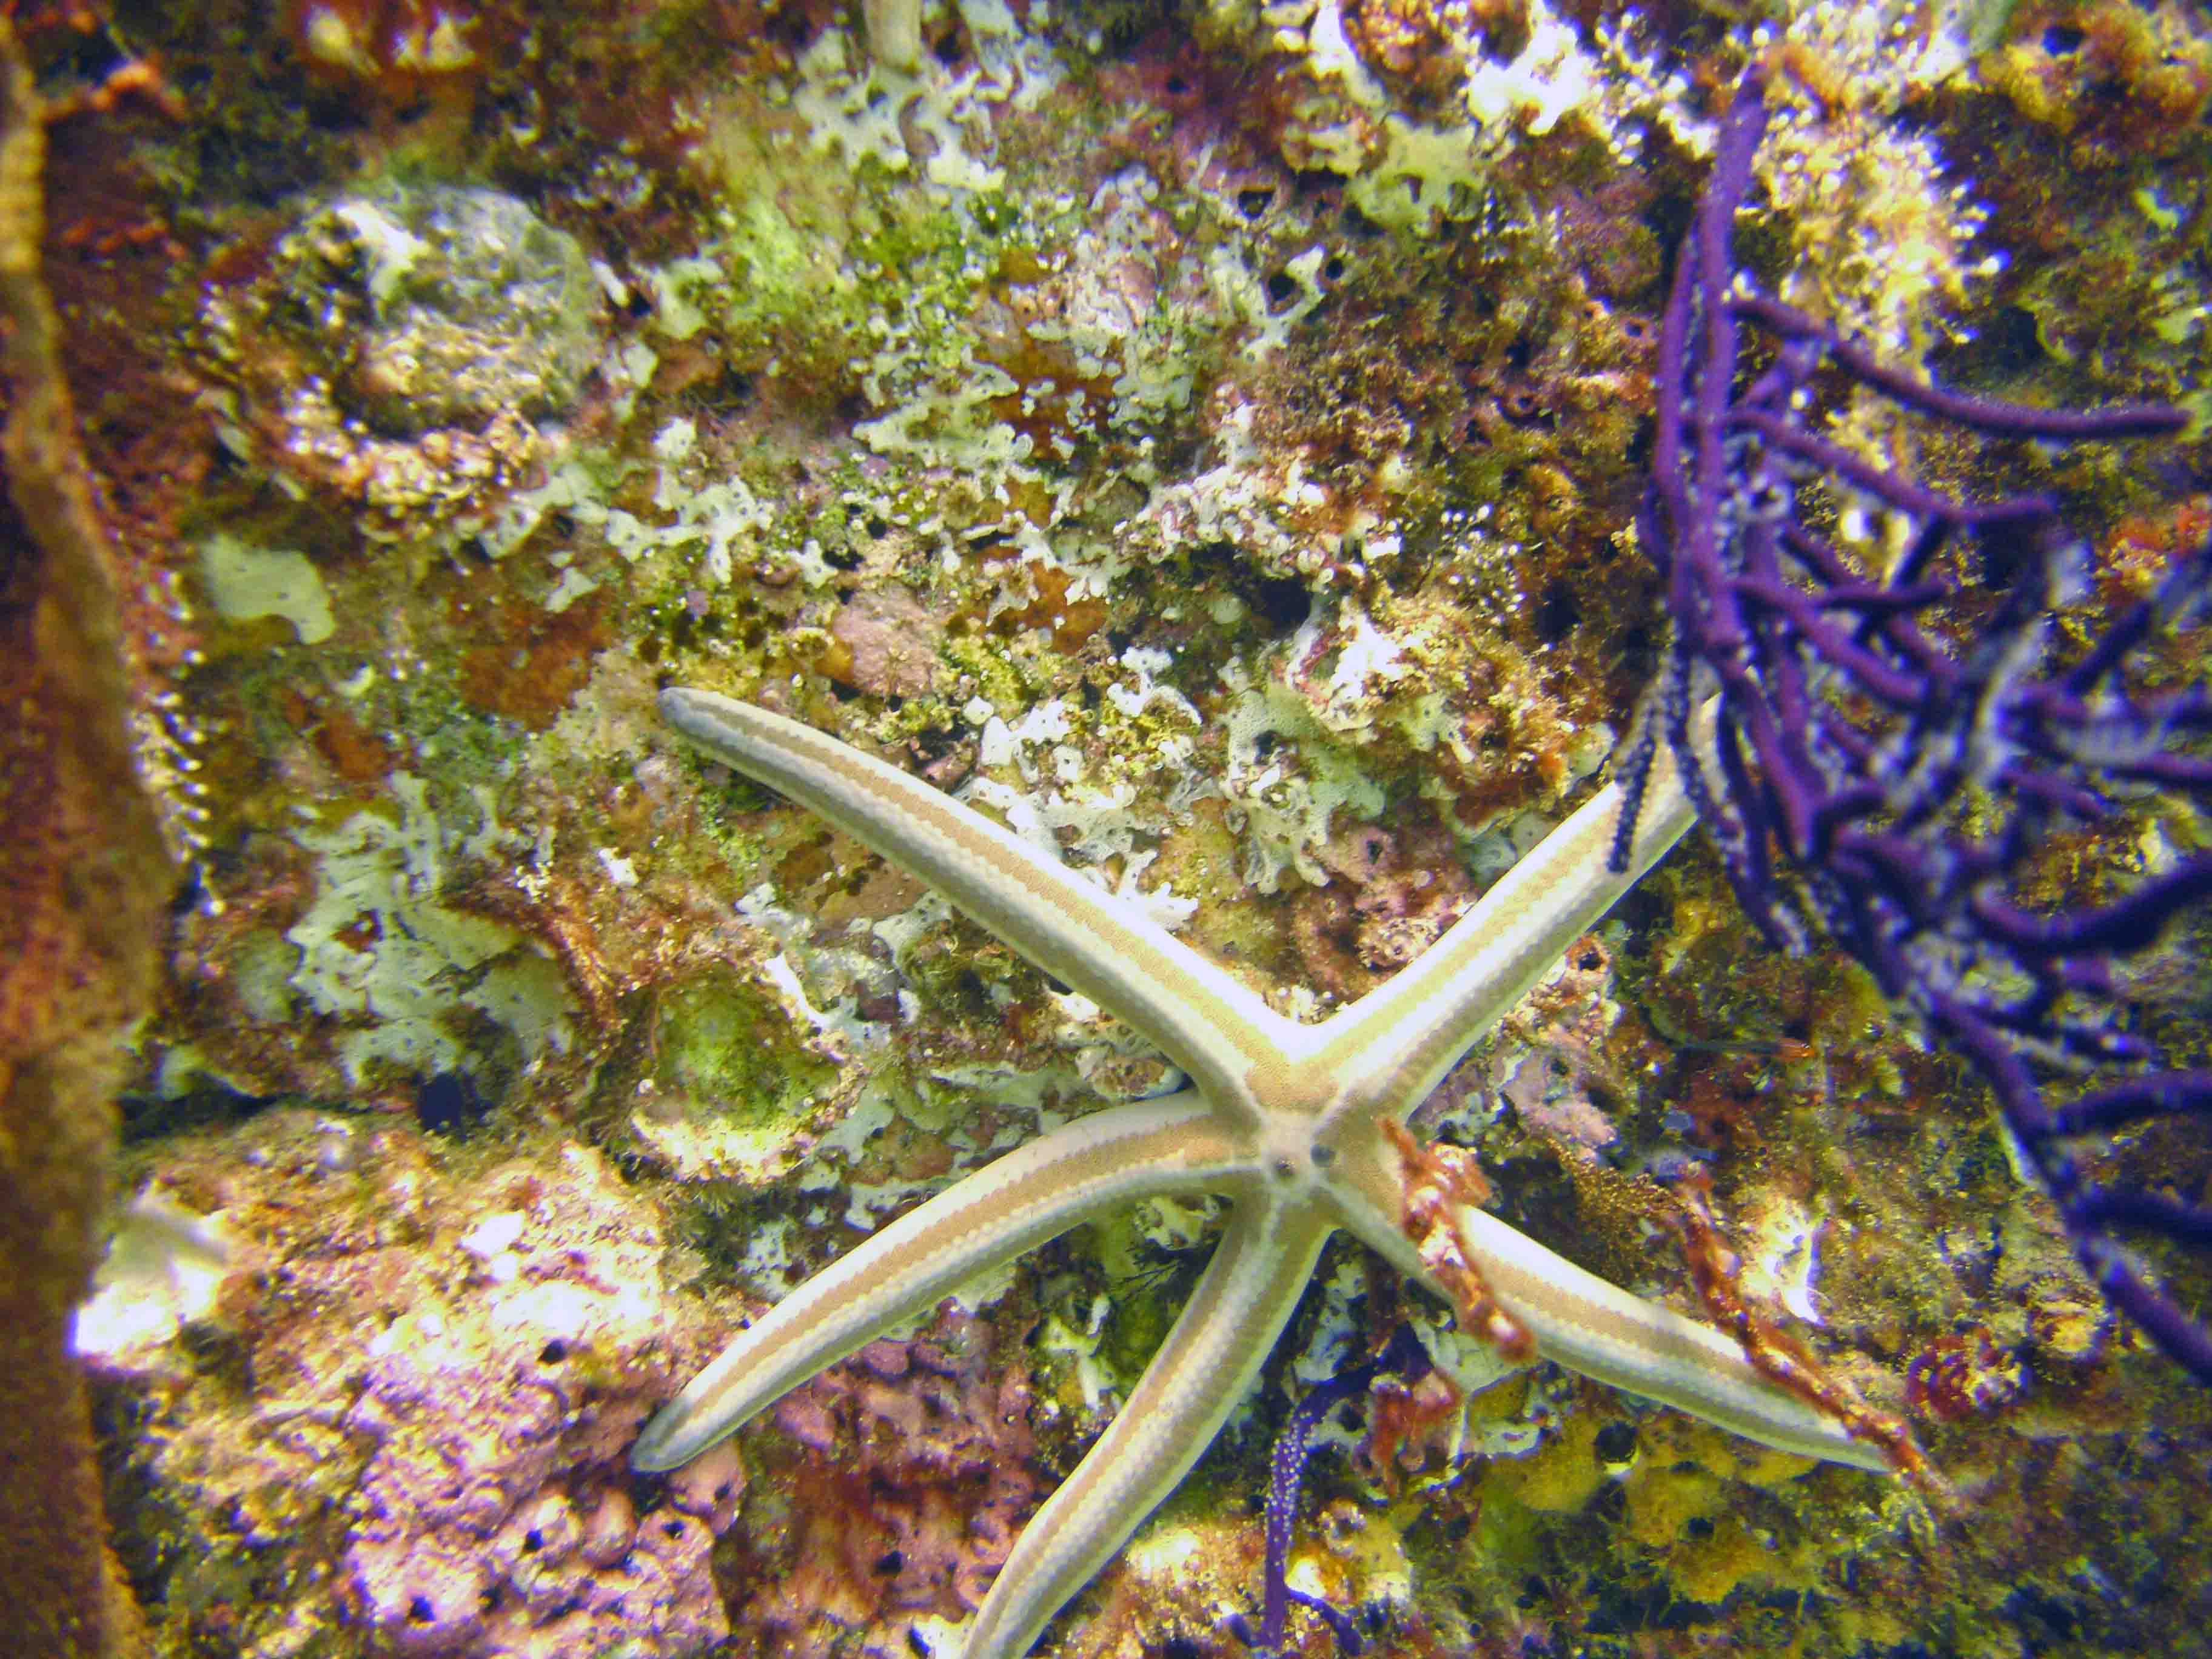
This starfish is brilliant and
clear with the richness of its background through the
use of combining the red filter and strobe. Cabo San Lucas
45 feet down.
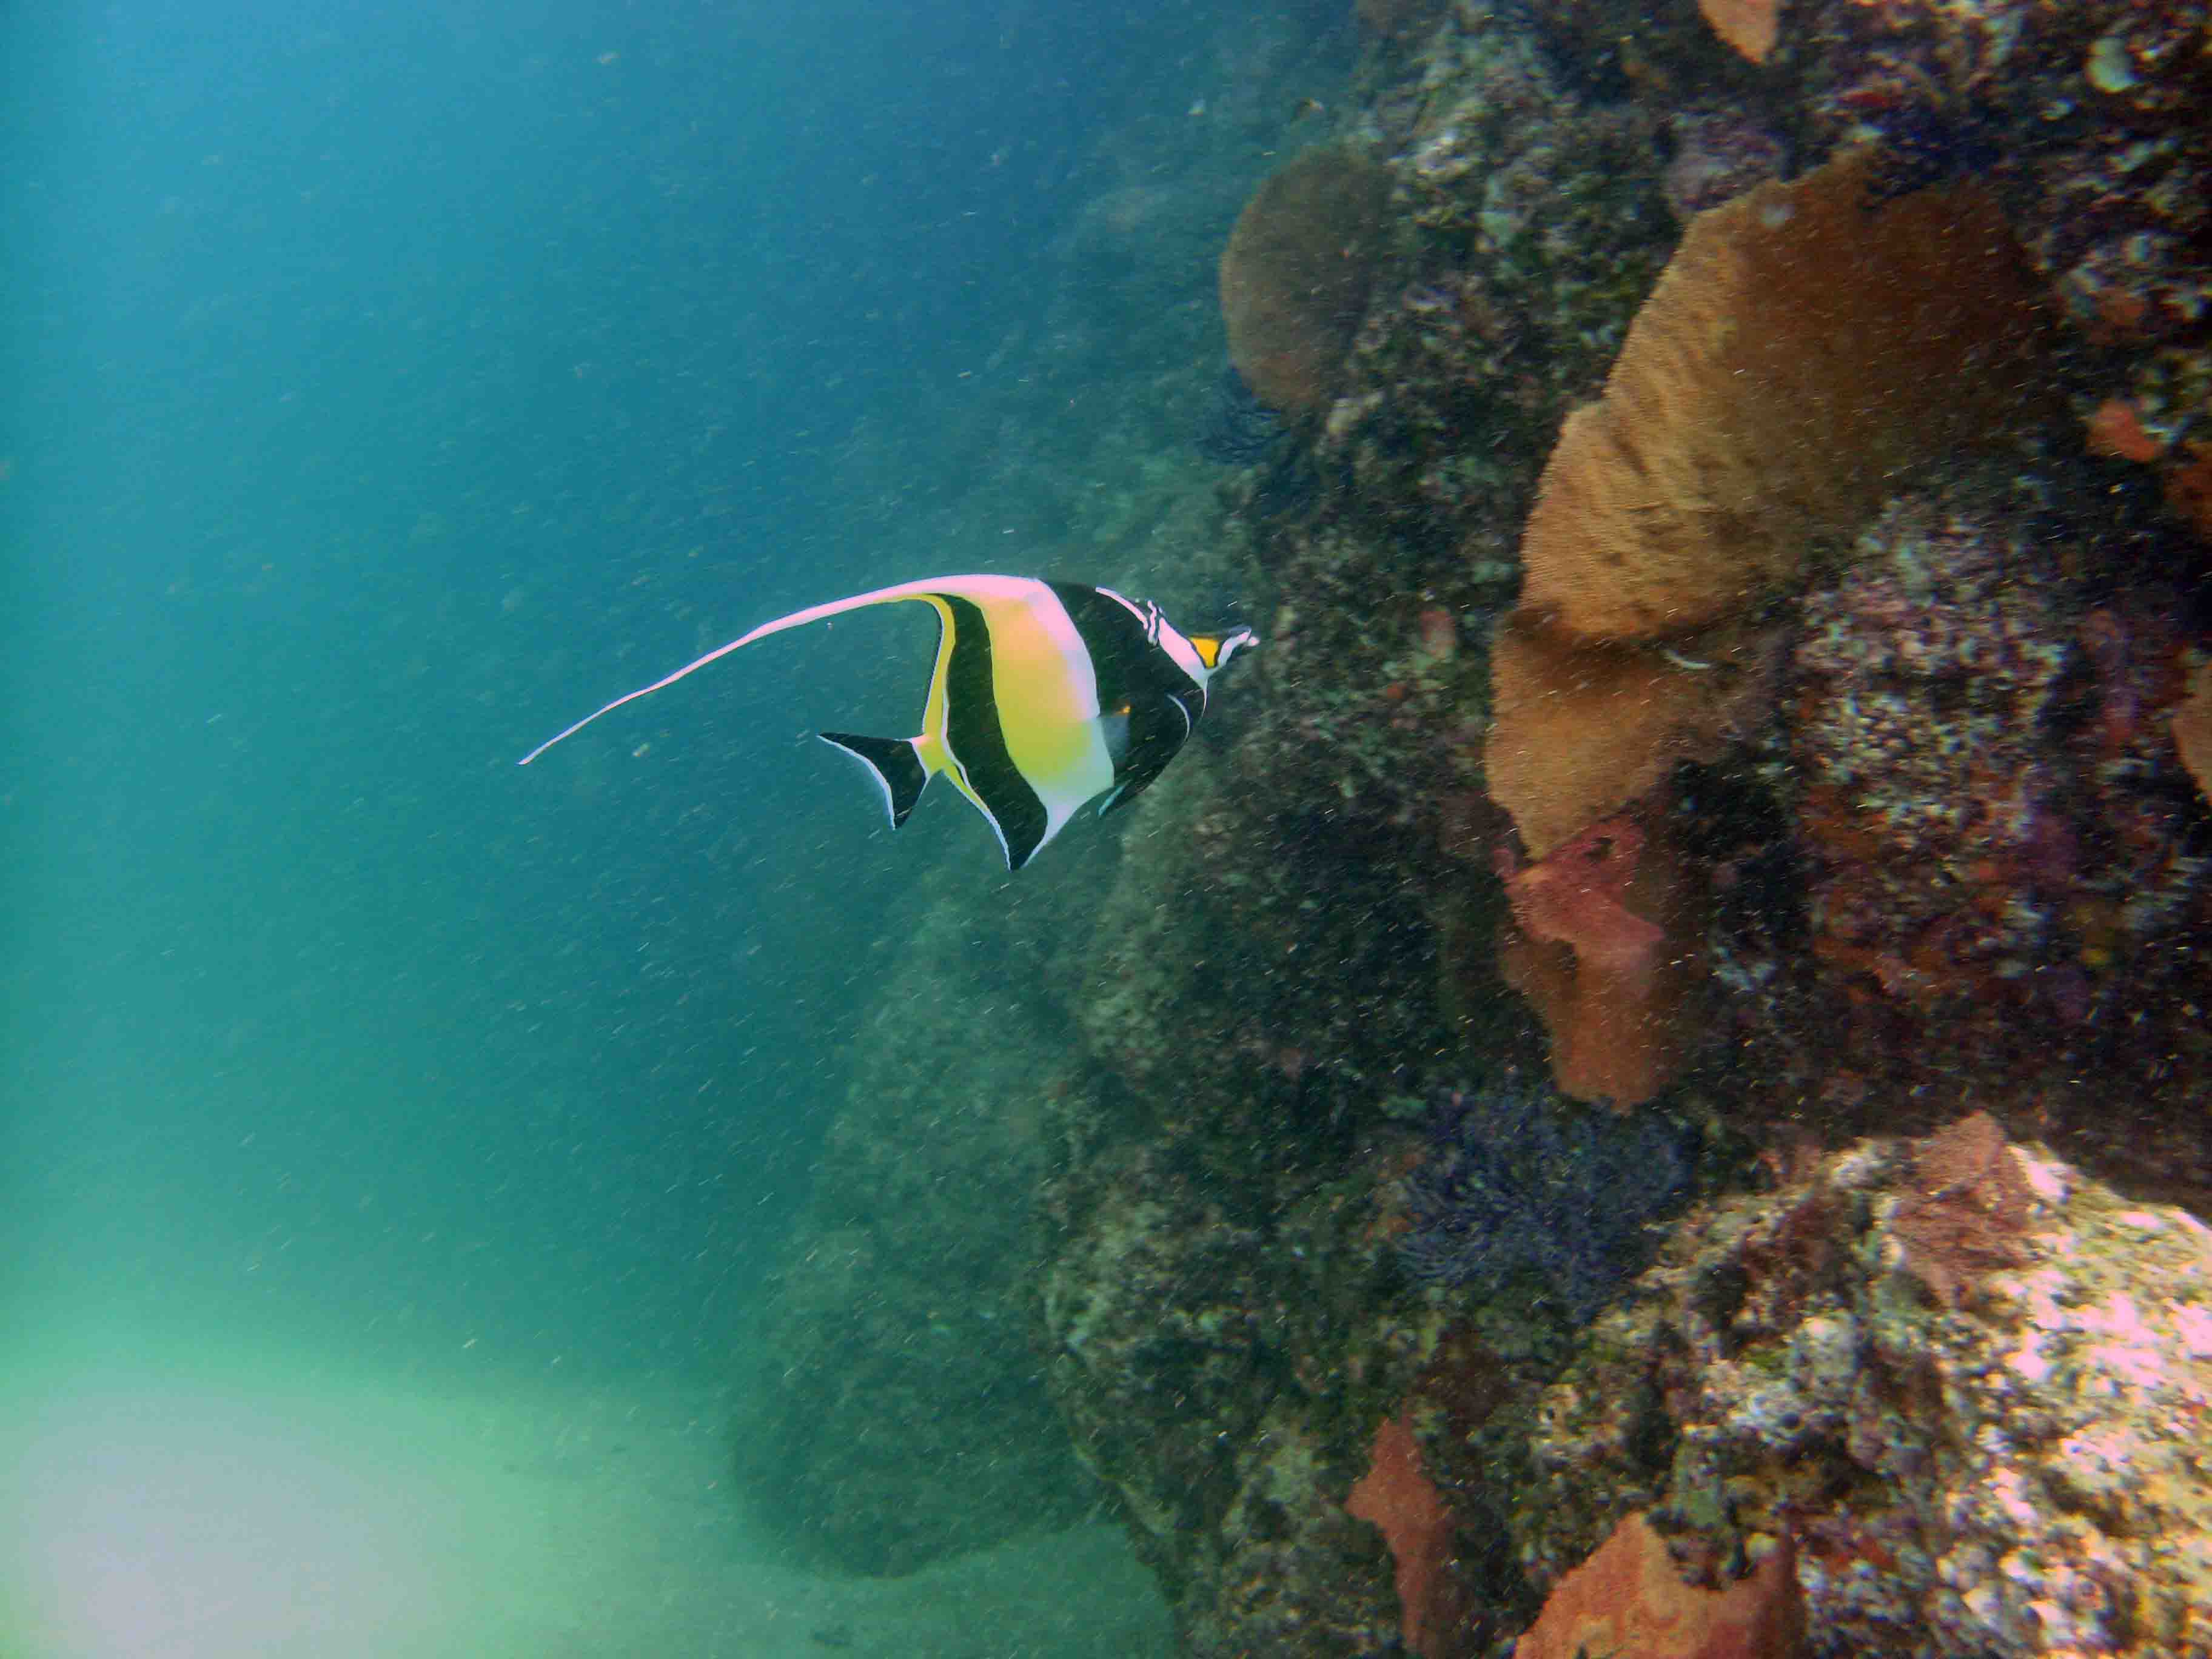
The red filter and strobe again
combined to help highlight this drummer fish.
The heavy particulate nature of the water is evidenced in the limited
background depth. Cabo San Lucas 40 feet.
particulate water that limits visitbility and strobe effectiveness.
4. Practice is necessary to learn the best use of the combination.
To summarize
our lesson on strobes...
1. Strobes are essential as built in flash units are insufficient
under water.
2. The strobe must be properly aimed.
3. The power level must be set so as to light with out washing
out.
4. The preflash must be correctly set.
5. The strobe can be combined with red filter under conditions of
lower ambient light and highly particulate water that limits visibility
and strobe effectiveness.
6. Practice is essential.